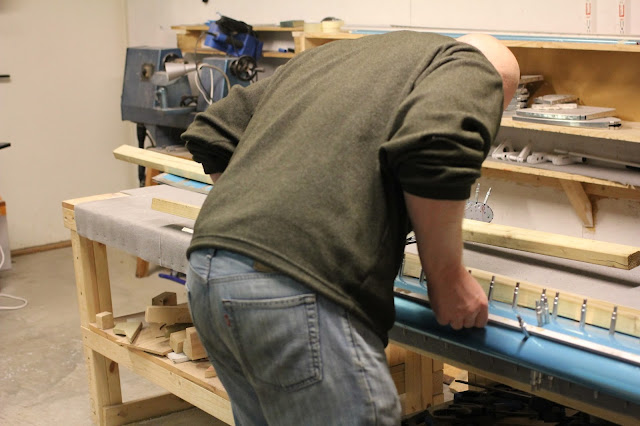
10/30/15
10/28/15
Last prep before riveting Ailerons together
10/26/15
Getting closer to finishing the ailerons
Dimpling, edge breaking and more dimpling. Grinded the edge off one of my squeezer yokes to be able to dimple the ribs.
10/25/15
Close call, Aileron
Almost made a big mistake tonight. Read about it in the picture comments.
 |
| Skin is good |
 |
| Attaching the trailing edge |
 |
| On one side the edge is flush with the skin on the other it is showing about 1mm, measuring skin hole to edge distance and A-1011 hole to edge distance |
 |
| marked |
 |
| And measured again |
 |
| marking and taking pictures with the intent to ask on VAF forum... |
 |
| Calculating and the numbers do not make sense! Opposite result compared to my logic... this cannot be, time to take a closer look at the parts |
 |
| And I finally saw the problem, I had put the clecos on one Aileron thru the large lightening holes instead of the rivet holes! |
 |
| Final drilling, I let the drill find the correct angle on itself and made sure not to try and make it 90 degrees towards the skin |
 |
| Thens its time to take everything apart again for trimming, deburring, dimpling, countersinking and priming |
10/24/15
10/23/15
10/22/15
Aileron skins are coming along great
deburring, dimpling, priming and started to back rivet the stiffeners.
10/21/15
10/20/15
Aileron skins
It is not foolproof regarding which aileron skin goes where so I decided to do a trial fit. Good thing because I got it wrong on the first try!
 |
| Yes, I´m using a screw driver to final drill |
 |
| Here I¨m getting skeptical, it does not fit the same way on the right and left aileron |
 |
| Holes are not close to lining up! |
 |
| The secret to getting it right is that in addition to the remarks in the plan: realise that the hole spacing is smaller at the trailing edge |
 |
| Much better! |
10/18/15
10/17/15
10/16/15
Aileron tinkering
Riveted some of the parts together. Must be careful to leave the correct holes unriveted. Then I spent what felt like a really long time, mounting the counterbalance to the front ribs, only eight screws in total but I only had room to make 1/6 of a lap on each take with the tools.
 |
| Dangerous countersinking! Great result tonight but lets stay away from this practice |
10/15/15
Two really short aileron sessions today
First was a less than 10 minute session were I primed the other side. The a longer one were I decided to put all the ready parts together to make sure I will be right.
10/14/15
10/13/15
Aileron leading edges, continues
This post is for both yesterdays and tonight's work. In total I spent 1.7 hours match drilling the weight to the aileron ribs and skin. If I were to do it again it would probably take 0.3-0.4 hours.
 |
| Drilling the first two holes described in the first related step |
 |
| Decided like others that there is no reason not to drill the rest of the holes at this time |
 |
| Not to difficult but the drill bit needs to be sharp to handle the steel without slipping |
 |
| This hole was just drilled enough to make a mark, I completed it on the drill press |
 |
| #27 final drilling |
Subscribe to:
Posts (Atom)


