Showing posts with label 46-GearFairings. Show all posts

7/20/21

Time to adjust the fairings

 More preparation for painting. Never been happy about how the fairings between the gear leg fairings and the fuselage and the fairings between the gear legs and wheel pants. Time to adjust. I am also making access panels for easier air fill/air pressure testing of the wheels.


6/8/19

W&B

Almost 12 hours in the hangar today. Lots of small tasks to be done before bringing out the scales. 

First was solving the non-running fuel pump. It turned out that I had not connected the ground, very embarrassing! Fixed that, and performed the fuel flow test as an easy way to get out the fuel from the tanks. Result, it takes just short of 23 seconds to deliver one liter. That is over 156 l/h or more than 41 gallons per hour!

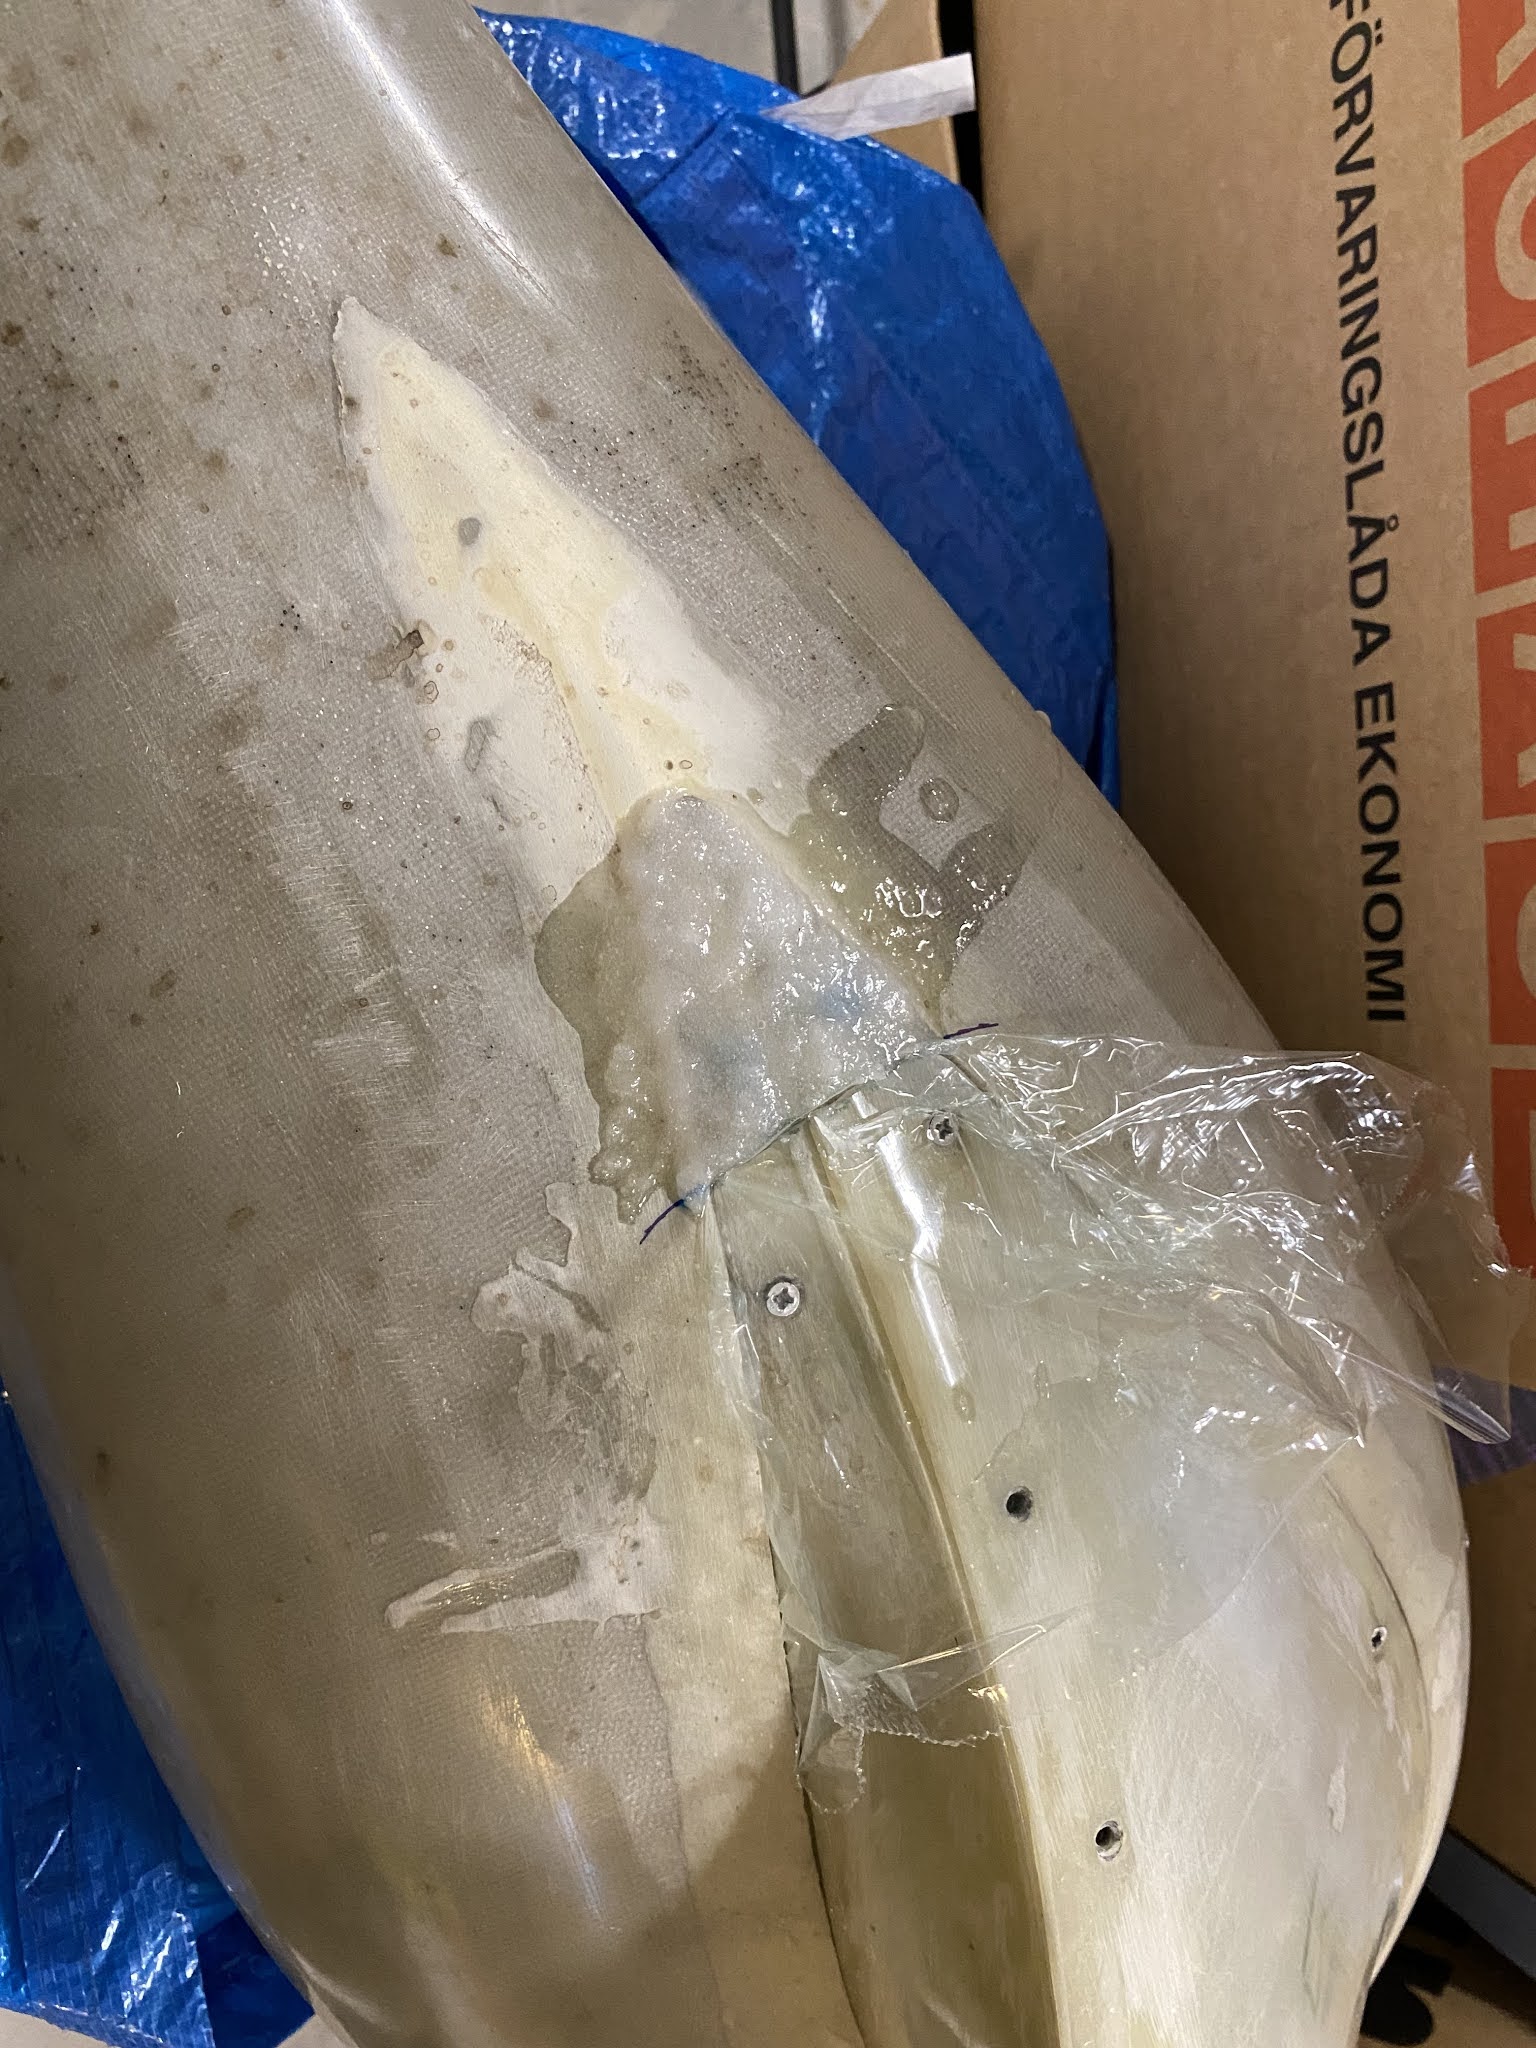
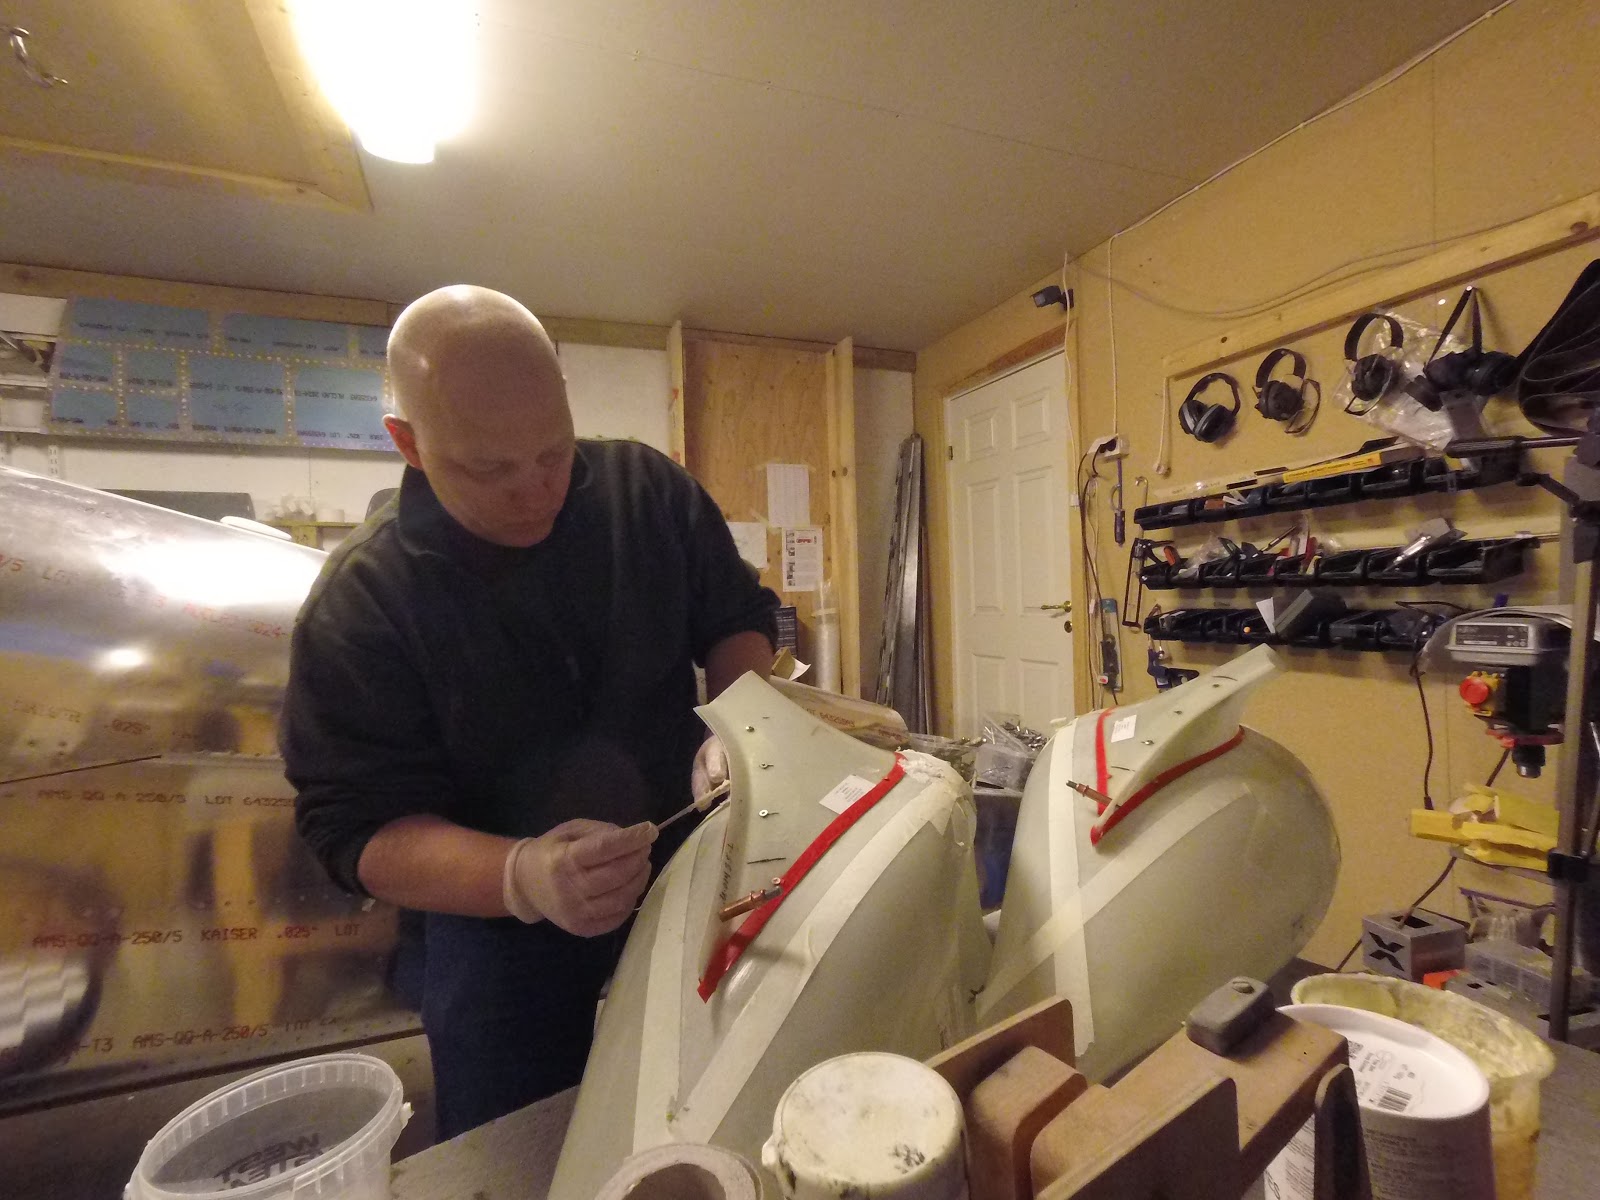
Most things moved along great, one nutplate in the wheel fairings decided to give up and capture the screw. had to drill it out and put in another nutplate. 

As I had done the measurements and tested for leveling the AC, the actual test was done in a very short time frame. 
Almost ready to get up on the scales.

Recording values

So 261.2 kg on the left wheel, 263,4 on the right and 25,2 on the tail wheel.


Lst task of the day, had to enlarge the opening some more.

1/27/19

A great week

The EFIS and the GPS 470/625 are speaking with each other :) I have heard some overhead aircrafts in the headset, connected to the radio. More switches are connected. Last task was to try and repair the trailing edge of one of the lower intersection fairings.


1/19/19

46b more sanding

After lots of sanding, the fairings were once again separated. I then measured and enlarged the openings for the wheels to get the right clearance.


1/17/19

46b second time

It did not come out good enough the first time so I have done another session for getting a good transition between the wheel fairings and the lower intersection fairings. This time with with a more sanding friendly mixture.

1/13/19

46b edges, success

The plastic bit trick worked! The fairing halves separated without any hassle and squaring the edges took seconds :)

1/10/19

46b separation

After lots of sanding I cheated a little at the end with the dremmel.
Final "sanding"

No problem getting the tape out and no! poxy under the fairing :)


HAd to do some sanding to get the tape of the intersection fairings but all removed within 5 minutes

Time to attach them again and do more sanding

1/7/19

Wheel fairings, more dust!

Sorry about the camera placement. I could do a lot with the machine on one side. Still lots of sanding to do. I could get the plastic pieces out, the fairings are not separated yet but I bet this was a success :)


1/6/19

46b another epoxy session

I put small strips of plastic between the wheel fairing halves, hopefully I can separate them as I will not cut them with a razor as instructed... crazy or smart, in a few days we will know ;)


1/3/19

Another 3.7 hours on 46b

With my wife and kids away on vacation, I got to work and then spend the entire evening in the shop.

The fairings came apart without any hassle, I have then trimmed and attached nutplates to the lower fairing and done lots of trimming on the upper fairings and countersunk the holes in the upper fairings.

Great results so far but these fairings take a lot of time to finish!


1/2/19

46b more epoxy-flox on the intersection fairings

First: thank you all for the encouraging comments, I still have this strange bug where I cannot comment to my own blog :/

Today I have made the tabs in the upper fairings that will hold them together. I am a little bit worried that I might have "glued" the halves together pretty hard. Might have some Dremel work to do tomorrow. Then I went a little overboard on the lower fairings, the "blob" to hold the nut, basically filled out the entire void between the halves, should work.


12/29/18

12/27/18

46b dust

The intersection fairings came off without any hassle. I cleaned off most of the grease with paper and some alcohol. Then the sanding begun. So far I have been using the Dremel, I am happy with the insides now, next are making clean square edges on the outsides.


12/26/18

46b epoxy flox

Finally got around to this epoxy session. Now I will let it fully cure before removing them.