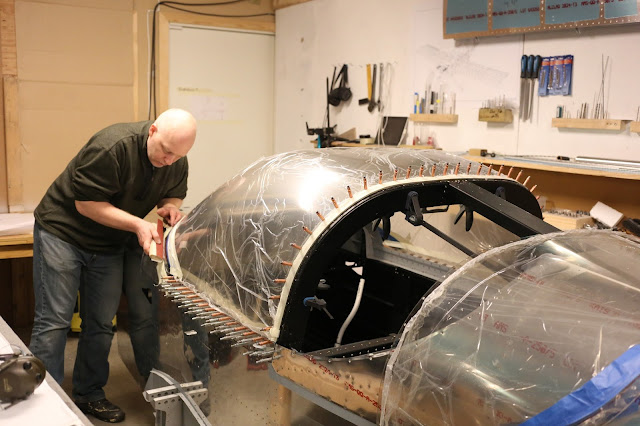
Had to make one more sanding session at the back end. Now attached.
12/31/17
12/29/17
12/28/17
Prepping for moving the wings
This evening I added some wood to the wing cradle in preparation for moving the wings to the airport tomorrow. I would have liked to keep them in the shop but there is no place for them when the engine arrives.
12/25/17
38 more prep
Did the last countersinking on the canopy and painted the part of the frame that was only primed and needed to be painted now before attaching the canopy permanently.
12/22/17
38 Canopy, glare shield painted
Scuffed the lower front end of the canopy where the fairing will attach and then scuffed, cleaned, primed and painted the glare shield portion of the canopy top skin.
12/21/17
38 canopy trimming
So the sides of the front canopy are trimmed in preparation for the creation of the canopy fairing. Then I marked the front fairing line and taped it. Canopy is as can be seen below removed again.
In other news, my engine is now at Vans and will ship early in January together with the prop and FWF-kit :)
In other news, my engine is now at Vans and will ship early in January together with the prop and FWF-kit :)
12/19/17
38, sanding
And the sanding begins, The first experimental aircraft I considered building was a Velocity, a fiberglass canard. I am thankful for changing my mind before starting, there is no way that I would be able to complete a fiberglass build.
12/18/17
38 Canopy drilling done
Removed the outer canopy side skins, final drilled to #27, deburred and reattached. Then final drilled all holes to #27. Finished with marking the canopy coverage on the upper canopy skin in preparation for painting that part.
38 Canopy drilling
The process to avoid cracks was to first mark the holes carefully be shining a light from inside.
I then drilled with a tiny 1 mm drill. By doing this I was also able to adjust for smaller errors when then drilling with #40.
For the sides I first drilled with a really dull #40 and then when it was only the inside 1407 canopy skin to drill, I had to use a sharp #40 drill.
I think the next step is to final drill them to #27.... we shall see.
12/16/17
38 More trimming
No I did not just attach the ratchet strap on the canopy ;) I dissembled and trimmed the front end of the canopy for almost another hour and then reattached everything. Now I am ready for drilling.
I also picked up a roll of fiber glass, resin, hardener and plenty of tools in preparation for the upcoming glassing sessions. I need to buy more micro balloons.
I also picked up a roll of fiber glass, resin, hardener and plenty of tools in preparation for the upcoming glassing sessions. I need to buy more micro balloons.
12/10/17
38 center line marked
Attached the template, set the canopy per instructions and marked the center line. I also have 1-2 mm to trim from the back end.
Subscribe to:
Posts (Atom)


