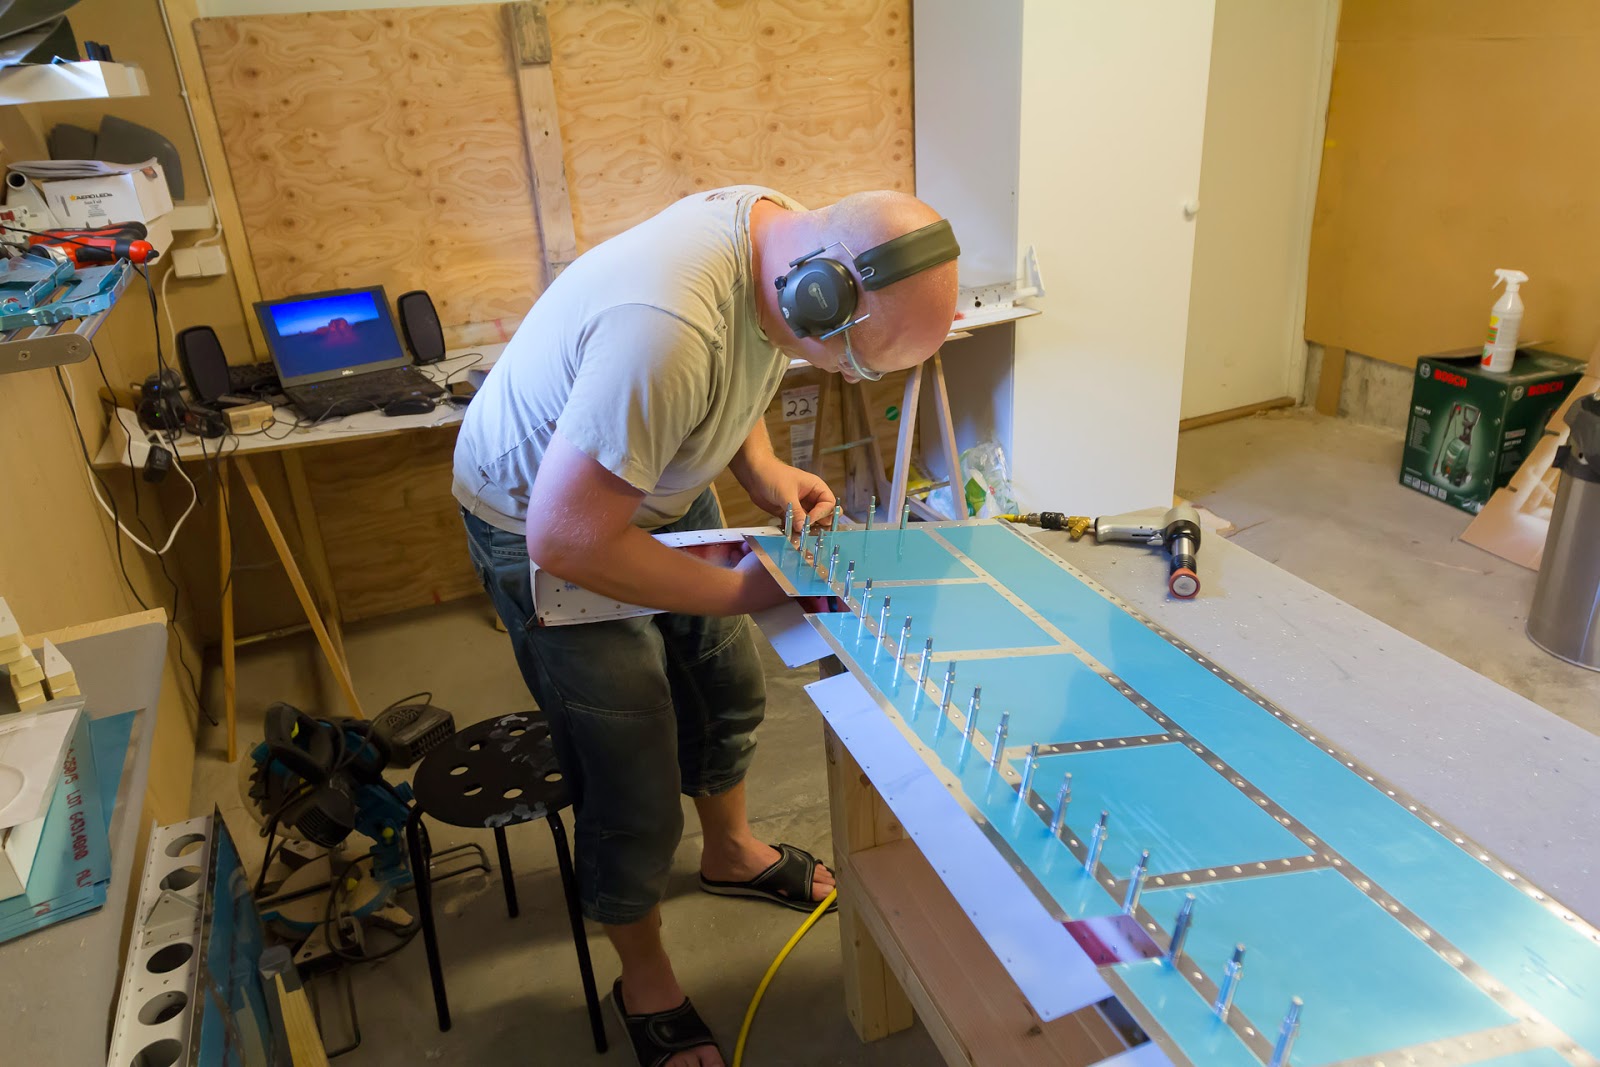
Wall should be ready tomorrow so I hope I will start chapter 10 during the weekend :D
8/28/14
8/27/14
New compressor, walls coming up and paperwork about to be finalized
 |
| 50l |
 |
| tools that came with it |
 |
| got the largest boards that I could fit into my car (Audi A6), two 900mm wide in the picture |
8/21/14
Cleaning and insulating the shop
I will be without a compressor for a while. Im using this time to clean up the shop and putting some insulation on the walls, well in time for the winter cold. It will probably be around a week until the next update here on the blog.
8/16/14
Elevators finished
Chapter 9 is finished. I did not connect the trim pushrod in both ends as the forums claim that there is a flaw in the design and it needs to be replaced by a redesigned one.
Broke the beld to the bandsaw so I had to buy a new one, while at the store I also got a grinding belt for the grinding machine that made adjusting the elevator weights easy.
Broke the beld to the bandsaw so I had to buy a new one, while at the store I also got a grinding belt for the grinding machine that made adjusting the elevator weights easy.
8/12/14
Left elevator, edges rolled
Did the left elevator today. Had to drill out my first pulled rivet today. I was careful and managed to do it without damaging the skin.
8/11/14
Starting to roll the elevator leading edges
Finished one elevator today, the other one needs some more love with the edge roller before I can close that one.
8/9/14
First electrical work
I have some faint memory of crimping connectors around 24-25 years ago... It is not pretty but the wires for the trim connector are firmly connected. Work sessions are so different, yesterday I put in 2.3 hours and there is very little to show for it, not like when you attach large skins, easy but looks like a lot.
8/8/14
Elevator trail done!
8/4/14
More proseal
The elevators are clecoed toghether for the final time. The proseal will cure for a few days and then I will do the final riveting. The edges are held together with aluminium ribs to make sure that they stay straight.
Right elevator almost done, a longer movie of using the squeezer
The right elevator is almost done. I will put up a movie here when Youtube is done with it. As I got a bad mark from riveting the two difficult rivets that connect the main skin and the balance skin on the left side, I used some time to think about a better way to do the right one.
And I realized that I could slip a bucking bar under the skin but instead of holding it thru that opening, I used one of the lightening holes in the spar, made all the difference, a tip for other builders!
And I realized that I could slip a bucking bar under the skin but instead of holding it thru that opening, I used one of the lightening holes in the spar, made all the difference, a tip for other builders!
 |
| Hold the bucking bar thru the lightening hole |
 |
| And rivet! |
 |
| Parts ready for the next messy step |
Lots of tricky rivets
Lots of tricky rivets when starting to close up the elevators. Actually managed to get a few normal rivets in where LP-3 was specified. Unfortunately I got one ugly mark when riveting the balance weight skin and elevator skins together. There are 2 on top and 2 on the bottom that are difficult to rivet. It is written that it is acceptable to use blind rivets but I wanted normal ones.
Maybe I am a bit tired and groggy from working in the summer heat but I must say that I think chapter 9 in the manual could be improved, It is not easy to realize what rivets should be skipped at what point and I'm pretty sure that they have forgotten to tell you when to finally do the skipped ones on at least one occasion.
I gave up on finding instructions in the manual and worked it out myself, in what order it should be done, I'm almost done with the left one now and it seems that I have done it right.
8/3/14
Rear elevator spar riveted
Happy to have bought the special tool from Avery, the riveting of the elevator rear spar proved to be very easy. A movie will come up here later. The video ended when the camera battery became empty. What there are no pictures from are only the pop-riveting of the support ribs.
 |
| To keep the ribs together while putting the LP-4 in |
8/2/14
Elevator coming together
Back riveted the support ribs and the trim access reinforcement doubler. Then the skins were clecoed together.
Subscribe to:
Posts (Atom)


