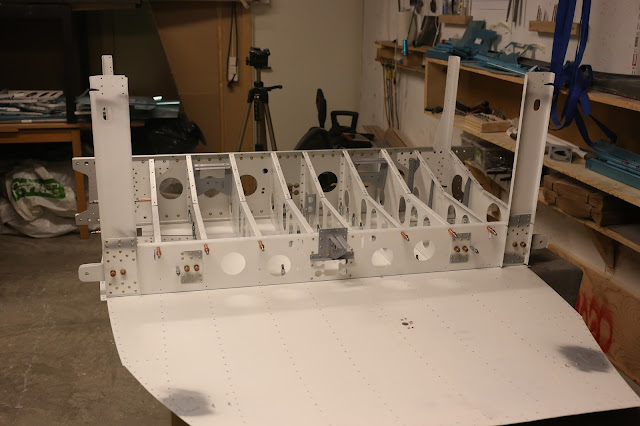
This giant chapter is finally done. For the most part it was fun but there were some really tricky rivets to set. I also regret insisting to try and back rivet all the baggage ribs even after I started seeing some bad results. Now I have 5 oops rivets and 4 426 4-4 rivets instead of the specified 426 3-3.5.
With the help of my wife the last around 60 rivets went really quickly and with perfect result. Unfortunately no camera around for that part. Later I finished of riveting the last stiffener and ribs before continuing with chapter 27.
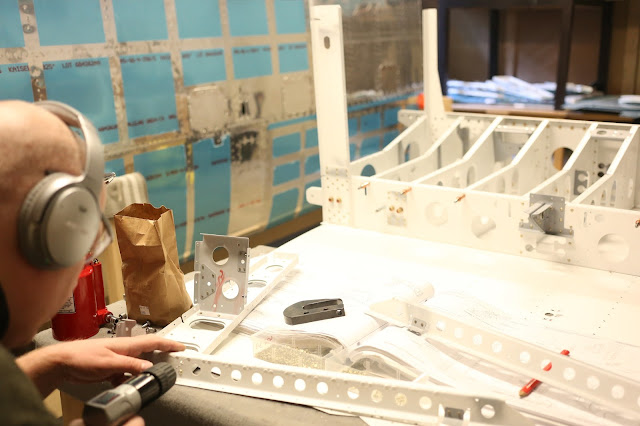
I think I have separated all the parts in chapter 27 now, all blue plastic is gone, some countersinking is also done.
Showing posts with label 26-LowerMidFuselage. Show all posts
Showing posts with label 26-LowerMidFuselage. Show all posts
4/20/17
4/18/17
Skipping ahead 26
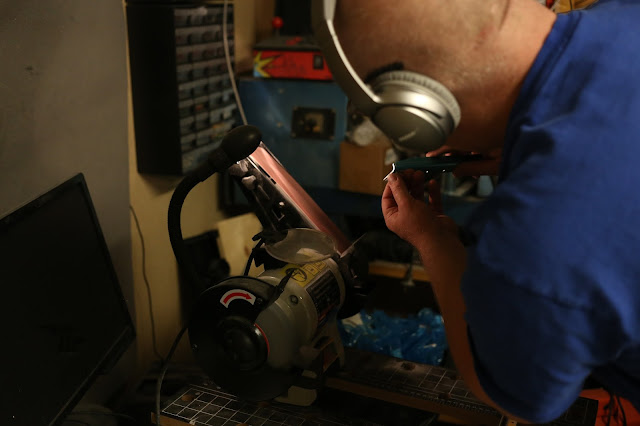
A very short session tonight. Went to the next page in the manual, it tells you to grind down a 1/8 dimple die... luckily I looked and it is only two dimples to be done so I got out my close quarters die set (the one using the pop-rivet tool) and did the two #30 dimples.
Then I did the dimples for the nut plates and finally I riveted them to the F-01430 Floor stiffener.
Then I did the dimples for the nut plates and finally I riveted them to the F-01430 Floor stiffener.
4/17/17
Lots done, chapter 26 almost done
4/16/17
26 Difficult rivets
26 lack of efficiency
First I read and decided to perform the steps regarding the optional step for the tail dragger version, once that was done, I realized that I have already covered up the holes where this would sit so that decided it for me, no steps will be installed. Almost an hours work wasted.
Then the F-01495 eluded me for more almost an hour. Not sure if it was me, VANs or the one creating the Excel version of the inventory list but the piece that according to the inventory, should be in kit #3 was in kit #4.
Then I made it unnecessary difficult for me by not noticing that LP4-3 rivets should be used in a few places, if that was not enough, I set two rivets that I was not supposed to so some drilling also had to be done today.
All in all, 2.9 hours in the garage but only one hours work actually done :/
4/15/17
26 some dimpling
4/14/17
26 Started on the baggage ribs
Very happy that it was possible to back rivet all the seat ribs. There is some curve to the structure so it was important to make sure that the structure was firmly against the back rivet plate.
Used my pneumatic pop rivet tool for the first time to set the two MK-19 rivets, once again I learned that I should have bought a tool sooner, happy that I have it now before the baggage skin riveting but I would also have wanted to have this for many rivets on the wing.
Used my pneumatic pop rivet tool for the first time to set the two MK-19 rivets, once again I learned that I should have bought a tool sooner, happy that I have it now before the baggage skin riveting but I would also have wanted to have this for many rivets on the wing.
4/13/17
Chapter 26, lots of back riveting
An early evening session as I was home alone. Three rivets to drill out as I did not put enough pressure on the structure to keep it tight against the "bucking bar".
4/12/17
A two person job done by one
Combining the seat-rib structure and the bottom skin is a job suitable for two or maybe even three persons, to be able to move the ribs into position. I managed to do it by myself but it was a hassle and I need to re-prime in a couple of places.
 |
| Time to move things around |
 |
| Marking where not to rivet |
 |
| Marking where not to rivet |
 |
| Such a good plan, rivets in place for back-riveting |
 |
| Just place it on top? No way, lots of fiddling done and all the pre placed rivets had to go |
 |
| Still hope to be able to back rivet most of it |
4/11/17
26 Gear brace assembly
Another great session. The gear brace assembly was assembled and then riveted onto the skin. The last thing I did was to rivet the F-01416B seat rib angles but by then I had bumped the camera so that it pointed down to the floor :/
Subscribe to:
Posts (Atom)


