Showing posts with label 17-Leading edge. Show all posts

8/12/15

Leading edges done

Finally got around to drilling and countersinking the lenses and drilling/dimpling the openings in the skins. This means that the chapter is done!

The camera battery became empty almost immediately after starting the session so I only have a picture from the mobile to show:


8/9/15

More trimming

A very boring movie in this post. More trimming of the landing light lenses.

8/7/15

Details

Dimpled and adjusted the access hatch for were the stall warning would go and started on the landing light lenses.

8/4/15

Leading edges in place

Just the landing light lenses and the access plate left to do on the leading edges.

8/3/15

5 rivets left on the right leading edge

Getting closer, just a few rivets on the right one and not much left on the left wing either.
upper side done 

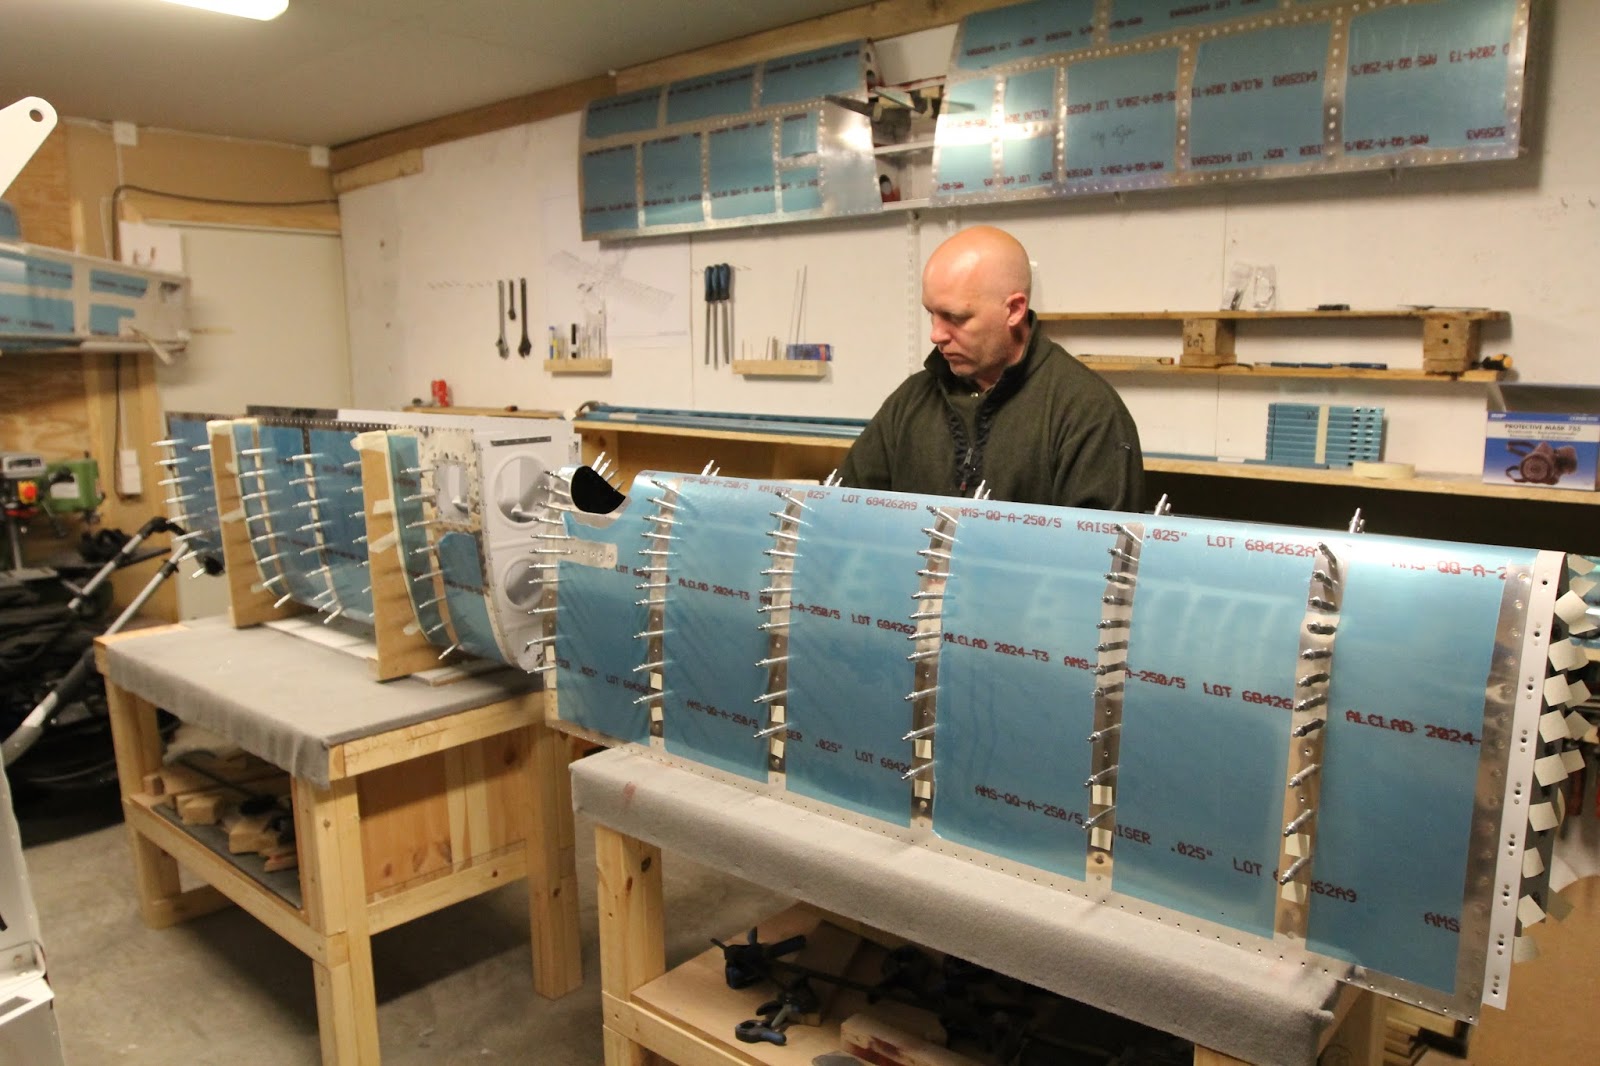
preparing the upper side on the left wings leading edge

to keep the rivets in place

searching the inventory list for the pop rivets

setting pop rivets

verifying the result

8/2/15

Both leading edges on the main spars

Almost half of the rivets on both leading edges are done.

7/31/15

Almost done with the leading edges

Two very productive hours tonight. Realized that I had forgotten to dimple a few holes for the lightning attach brackets, a perfect opportunity to test my pop rivet dimpling tool.

7/29/15

preparing, leading edge

Setting up for riveting the final leading edge rib rivets. The remaining most forward rivets are now held in place with tape.

7/28/15

Done the easy rivets on both the right and left leading edge

Done the easy rivets on both the right and left leading edge:

7/27/15

More rivets on the leading edges

Managed to do some preparing while entertaining my youngest one :D 


7/25/15

Same for the right leading edge

Started with drilling out two bent rivets. Used 1mm then 2mm and finally #40 to be sure to not mess up the holes. I then attached the ribs and stiffener into the right leading and finally I riveted the aftmost two rivets in every rib and attached the the inner rib completely.

starting with 1mm to get a good center start

all the way with 2mm

just enough with the #40 to be able to break the head off with a punch


the bar is next to the hole as not to deform the skin and rib while punching out the last part of the bad rivet


more yoga ;)

7/24/15

First rivets in the leading edge

Been away for two days... Now I have riveted the two aft rivets in every rib on the left leading edge. I also positioned the difficult rib and tank strip into the right leading edge.


7/21/15

Cleco time

Had to use some force to get everything aligned...


7/20/15

Finally some assembly again

Even if it was just nutplates, it felt great to squeeze some rivets again. It always feels like the preparation of parts take forever!

7/19/15

Leading edge, scuffing and priming

Happy to be back at using my regular water-based primer. The smell from the rattle-can stuff I used for what can be seen from the landing light openings, still smells.

7/18/15

Painted the leading edge stiffeners

Painted them also tonight, simply forgot about them in the last session.

7/15/15

More of the same

finished the first skin and started on the other.


7/14/15

Started deburring the leading edge skins

Started deburring the leading edge skins:

7/13/15

More Leading edge

deburred and dimpled the stiffeners and the back holes in the ribs. Skins are next: