Showing posts with label Builder Tips. Show all posts

7/13/21

Access Panels, part 2, done?

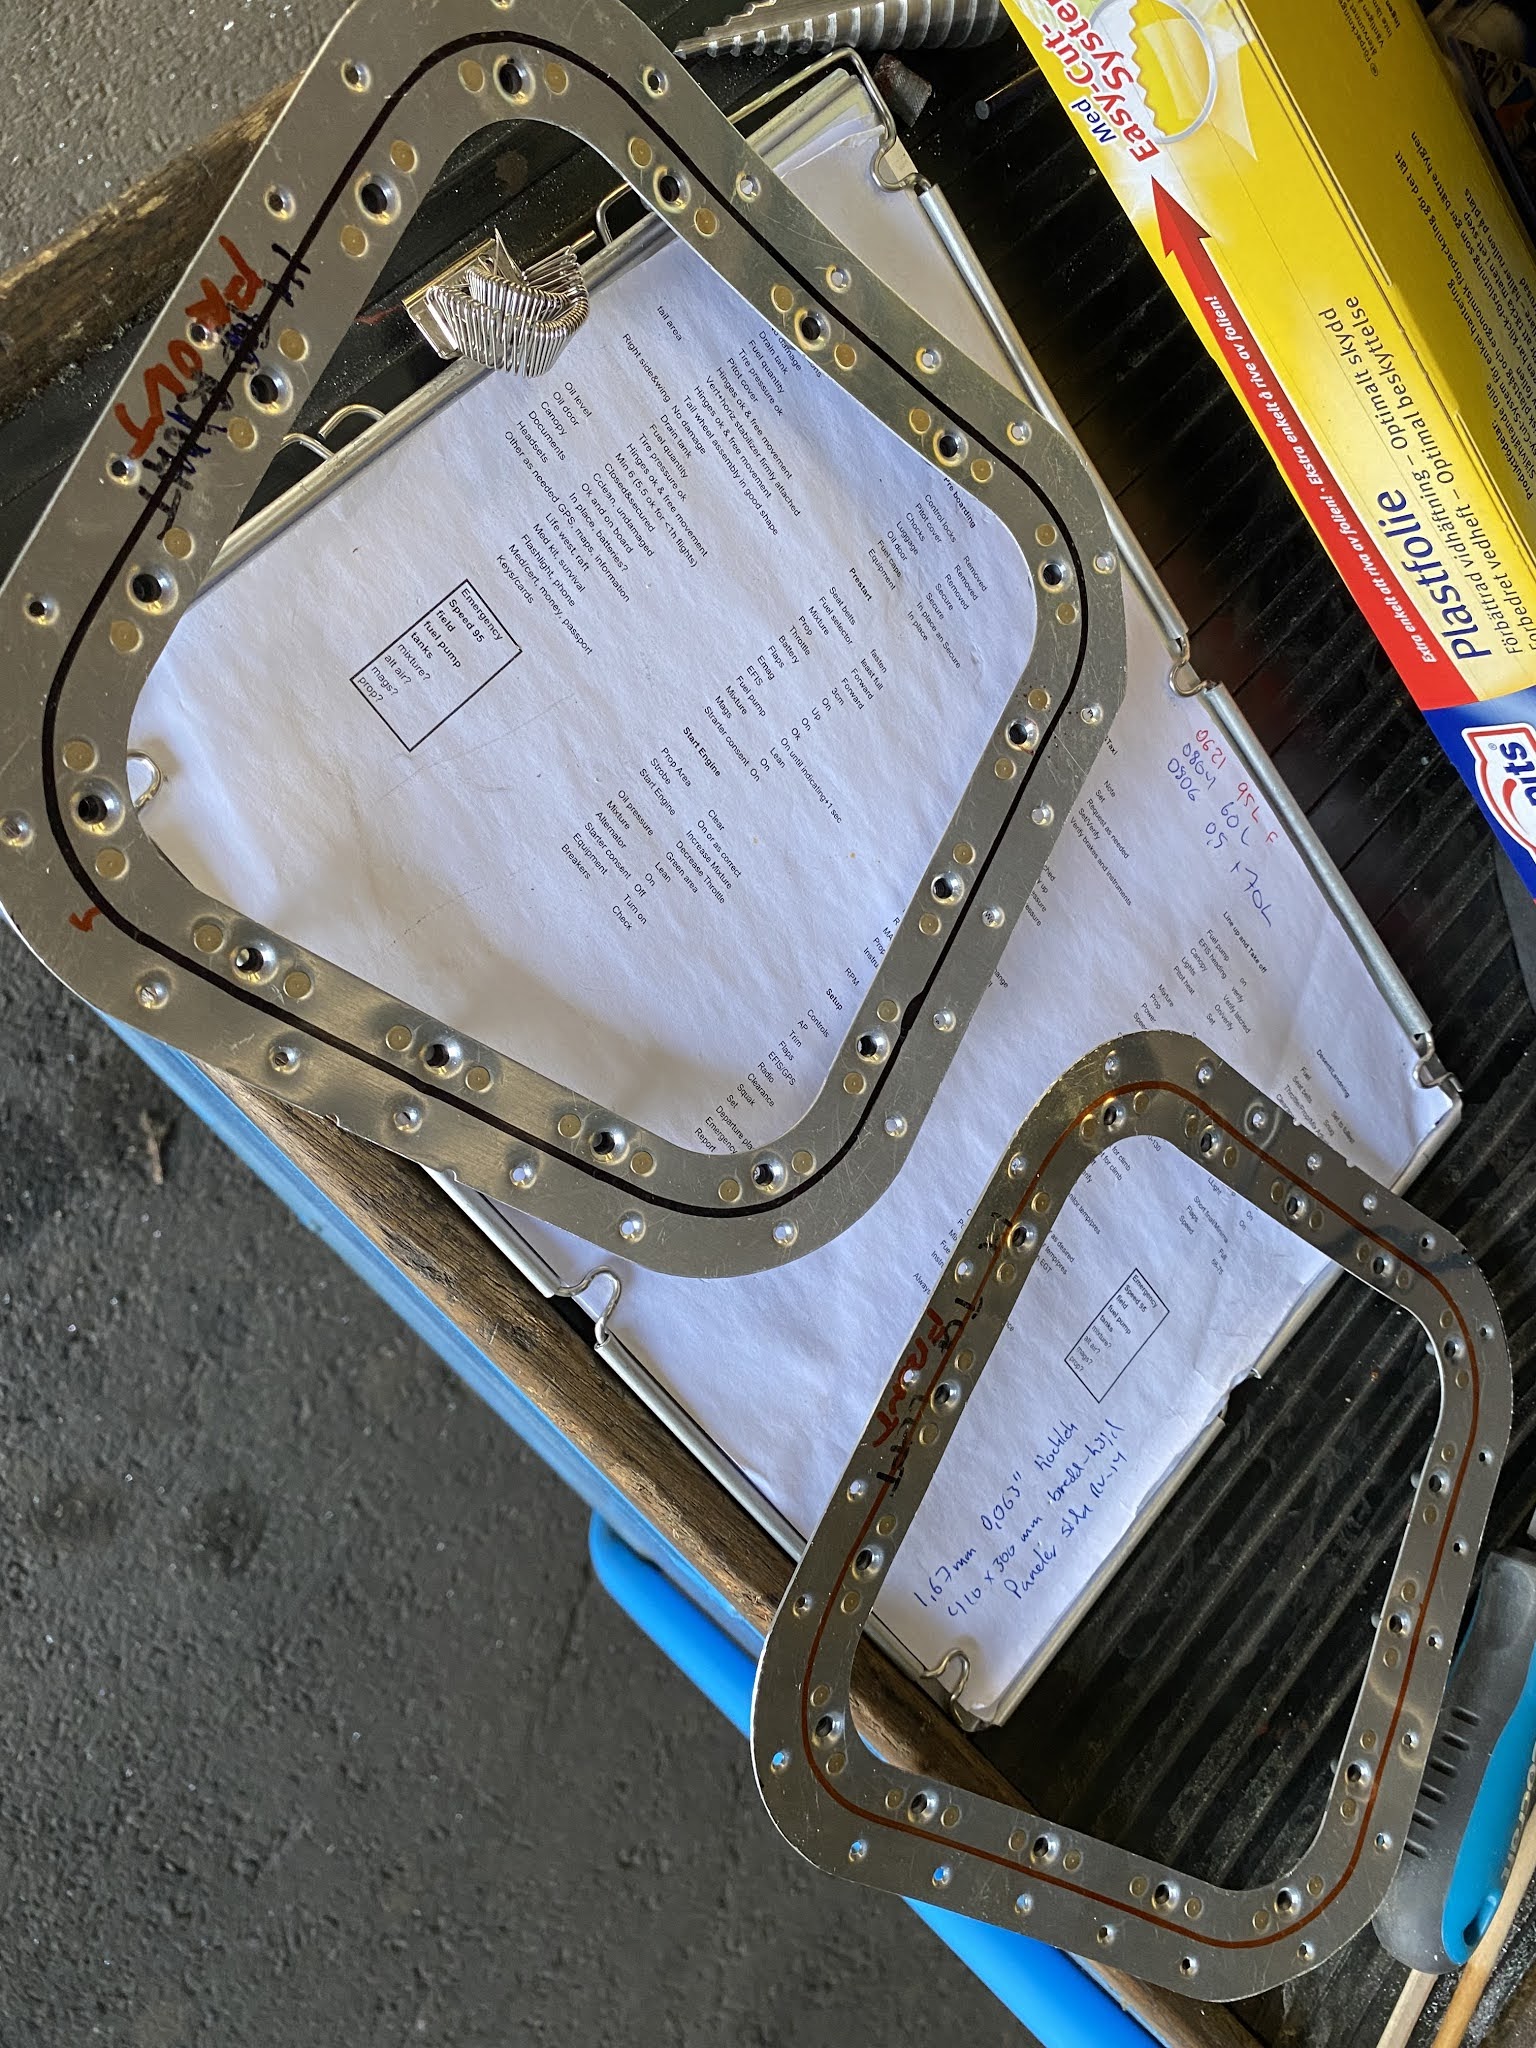
 Another day with many hours in the hangar. in retrospect, I should have gotten me some better cutting wheels for my dremel... Anyway, now the tank sealant is hardening, tomorrow I will hopefully just have a few minutes of cutting away some excess sealant and then I´m done with this task.

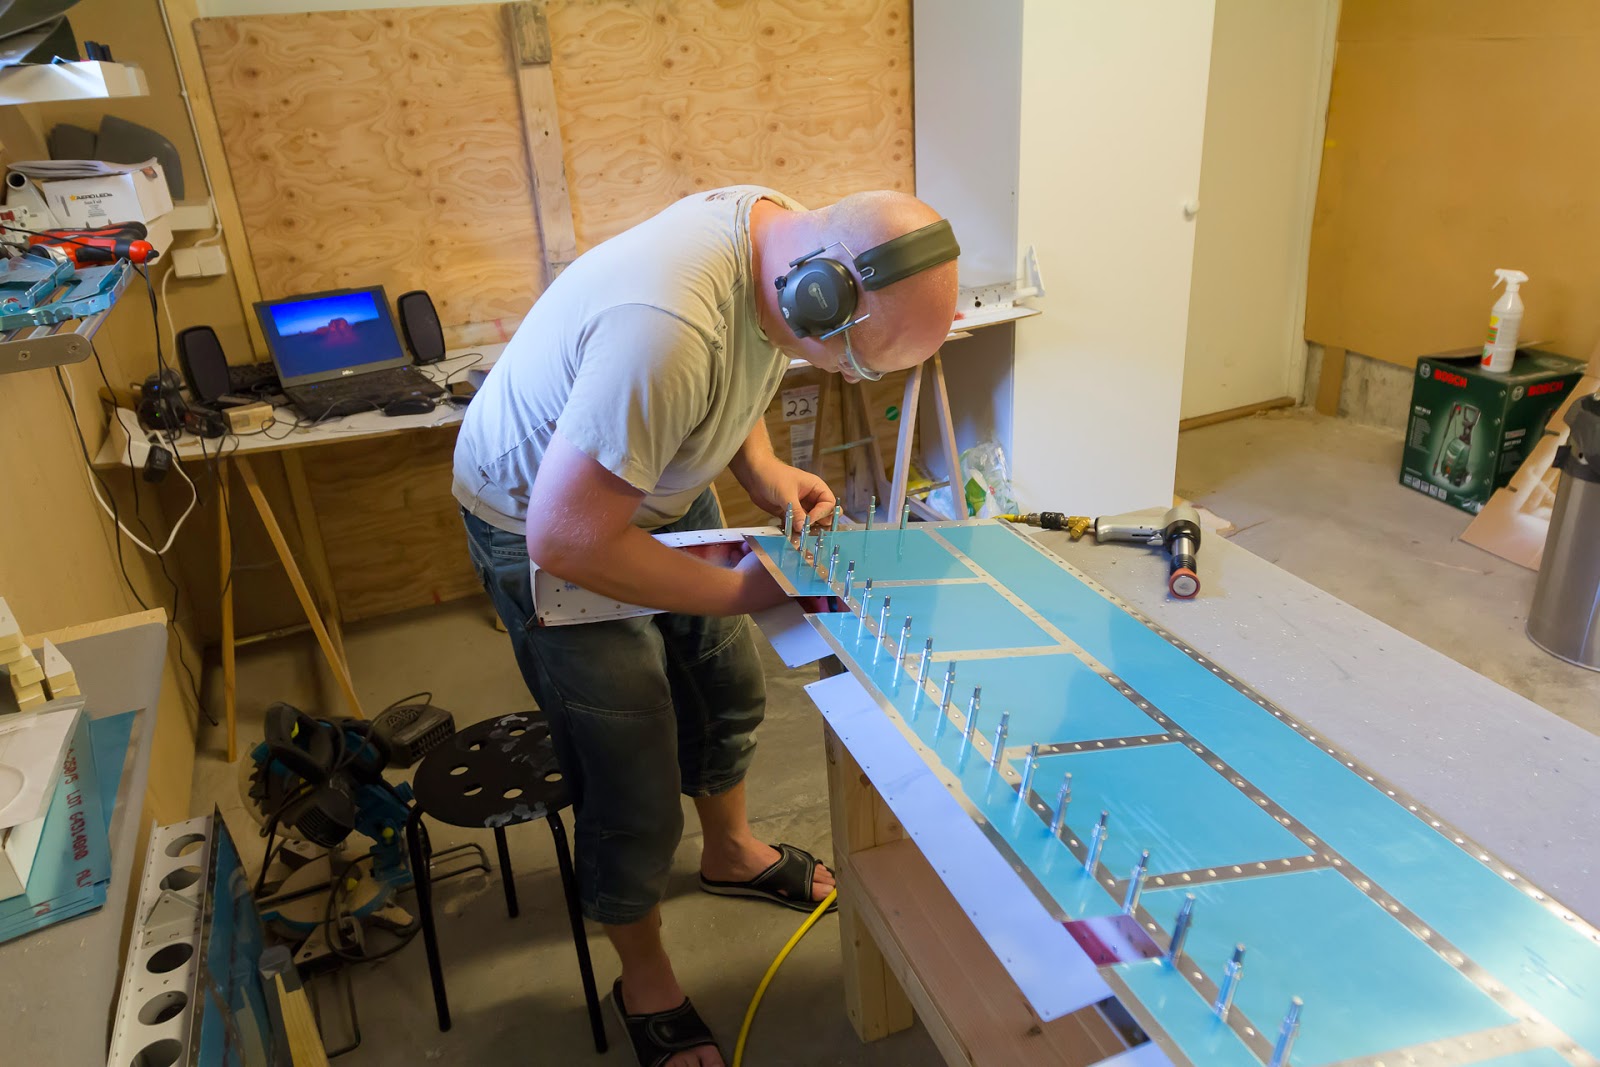
I followed tips from different builders and did not drill the #19 holes directly, I first drilled #30 holes so I could use regular clecos to hold things for match drilling.


9/1/17

35, mounting the wiring channel, a modification

The plans state to use LP 4-3 rivets to attach the lower parts of the wiring channel.

Builder E tipped that it was easy to squeeze 470 rivets there. I went one step further and dimpled the holes (after bending the flanges as instructed) and installed 426-4-4 rivets. It was really easy to do.

8/12/17

Another productive day

Got lots done today!


4 tricky rivets, but the no hole yoke with the no hole part on the factory heads made it easy

7/16/17

29, an unusual bucking bar to the rescue

Only did eight rivets on each side during this session. For one per side it was really difficult to find a bucking bar that would be usable. I finally found one, shown best on the third picture and how I held it on the last pic.


3/13/17

chapter 25 soon done

The C-frame retrofit kit, was worth it for just the last session. Link below. Without it, it would not have been possible to use the C-frame for this task. 


http://www.cleavelandtool.com/Avery-C-Frame-Retrofit-Kit/productinfo/Z-CF-AVERY/#.WMa7aPkrJaQ

4/20/16

I need to have parallel projects

I remember reading an article about building efficiency, I think it was in Kitplanes. One of the tips was to have several smaller projects going on in parallel with the intent that if something could not be done for whatever reason, there would always be something else to do int the shop.

I have gotten away fine without this practice up until now, the time needed for each proseal session does not exist in a weekday, this has already cost me at least 20 hours of potential work... I will try to get the planned cable purchases done shortly so that I can have "riveting the bottom skins" as a parallel project to the tank building.

4/8/16

Proseal 1 It is as bad as they say ;)

First session done. The plan was to do the stiffeners and some fuel fittings but even though I think I used less than an optimal amount, I had difficulty in making one tube last for all stiffeners.

Somehow I missed the back-riveting plate when doing two rivets so they had to be drilled out, apart from that I think the session went well.
 
Not to bad but I need to put some more proseal on some shop heads and at a few places along the stiffeners.

I am trying to follow the process shown in this tread:
http://www.vansairforce.com/community/showthread.php?t=118078&highlight=fuel+sessions

I got some great practical hints from this RV9A blog:
http://www.smittysrv.com/more_stuff.asp?ID=296

5/9/15

Aileron Hinges riveted

Used sockets to press the bearings into the hinge brackets as described in the manual. I successfully used 11mm and 15mm (the manual suggest 14mm but that would demand a very precise placement)

Finished with riveting the bracket assemblies together.


8/4/14

Right elevator almost done, a longer movie of using the squeezer

The right elevator is almost done. I will put up a movie here when Youtube is done with it. As I got a bad mark from riveting the two difficult rivets that connect the main skin and the balance skin on the left side, I used some time to think about a better way to do the right one.


And I realized that I could slip a bucking bar under the skin but instead of holding it thru that opening, I used one of the lightening holes in the spar, made all the difference, a tip for other builders!


Hold the bucking bar thru the lightening hole

And rivet!


Parts ready for the next messy step