The propeller is torqued, this part was easy, getting the safety wire in place took forever! I also got my SB parts delivered, I ordered them on Monday so that was amazingly quick :)
Showing posts with label FWF-kit. Show all posts
Showing posts with label FWF-kit. Show all posts
11/14/18
11/13/18
Propeller Wrench
Got a new tool delivered. This will make it easy to reach and torque the prop. Now I just need to ensure I have the correct torque values and do the correction calculation.
I also marked the pins for the bottom cowl.
I also marked the pins for the bottom cowl.
9/17/18
Cables & Switches
Work from today and yesterday. Added switches to the panel mid section and made a cutout for the planned ICOM 220. Then I started installing the control cables.
9/7/18
Shit happens...
My shipment from Vans with among other things my custom control cables was lost/destroyed during shipment.
Shit happens as they say, I must say that both FedEx and Van´s have handled the incident perfectly and to be honest I have and will not loose much time because of this. I have had lots of tasks to perform that was not depending of this shipment, I just have been prioritizing family and non aviation related things for the last 5-6 weeks.
Last night I spliced cables from the pressure senders, no pics from that, sorry. I am also almost done with the primary electrical system so a first start up of the EFIS and GPS in the panel should not be far away.
7/13/18
First switch in place and a revelation
Been rethinking the placement of the switches. Installed the first one. (But it will be replaced as I want the kind that you have to pull back a little to change position for the master switch)
Then I finally figured out the answer to the question I have been thinking about for some days, I have been so sure that the cables for switching the master and starter relays have been part of the FWF package that I just have not been able to see the obvious solution for days even tough I have read numerous wiring diagrams. I even had to do a practical test to 100% convince myself that you need more wires.
So today my master relay was turned on/off a couple of time after having been careful that the loose positive wires were not touching anything before hooking up the battery temporary.
6/29/18
6/12/18
More harness and some other smaller tasks
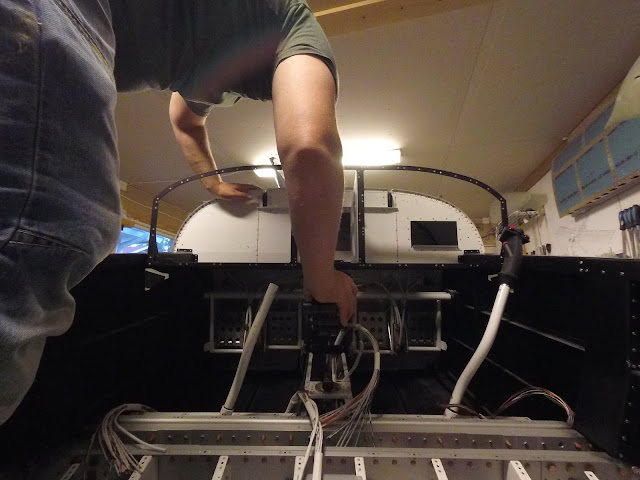
I could not resist placing the seat backs and the panel in place to try it out with the throttle quadrant.
put saftey wire on the adjusted alternator belt tension arm/bolt.Not cigarette lighter here, a low RF noise dual USB charger instead.
Manifold pressure for both the instrument and the emag.
6/11/18
6/8/18
Done with section 49
Done with section 49 (apart from one fuel line that will be connected after the aux pump fuel flow test is done. Started with my main deviation from the plans, time to think about how to attach the throttle column.
Sniffle line, Manifold pressure
Created a T for the manifold pressure. One for the sensor and one to the e-mag. Started to mount the sniffle line.
6/4/18
Slow, at one hose per hour
Without special wrenches it is very difficult to attach the oil hoses. Some progress from yesterday and today:
6/1/18
Subscribe to:
Posts (Atom)


