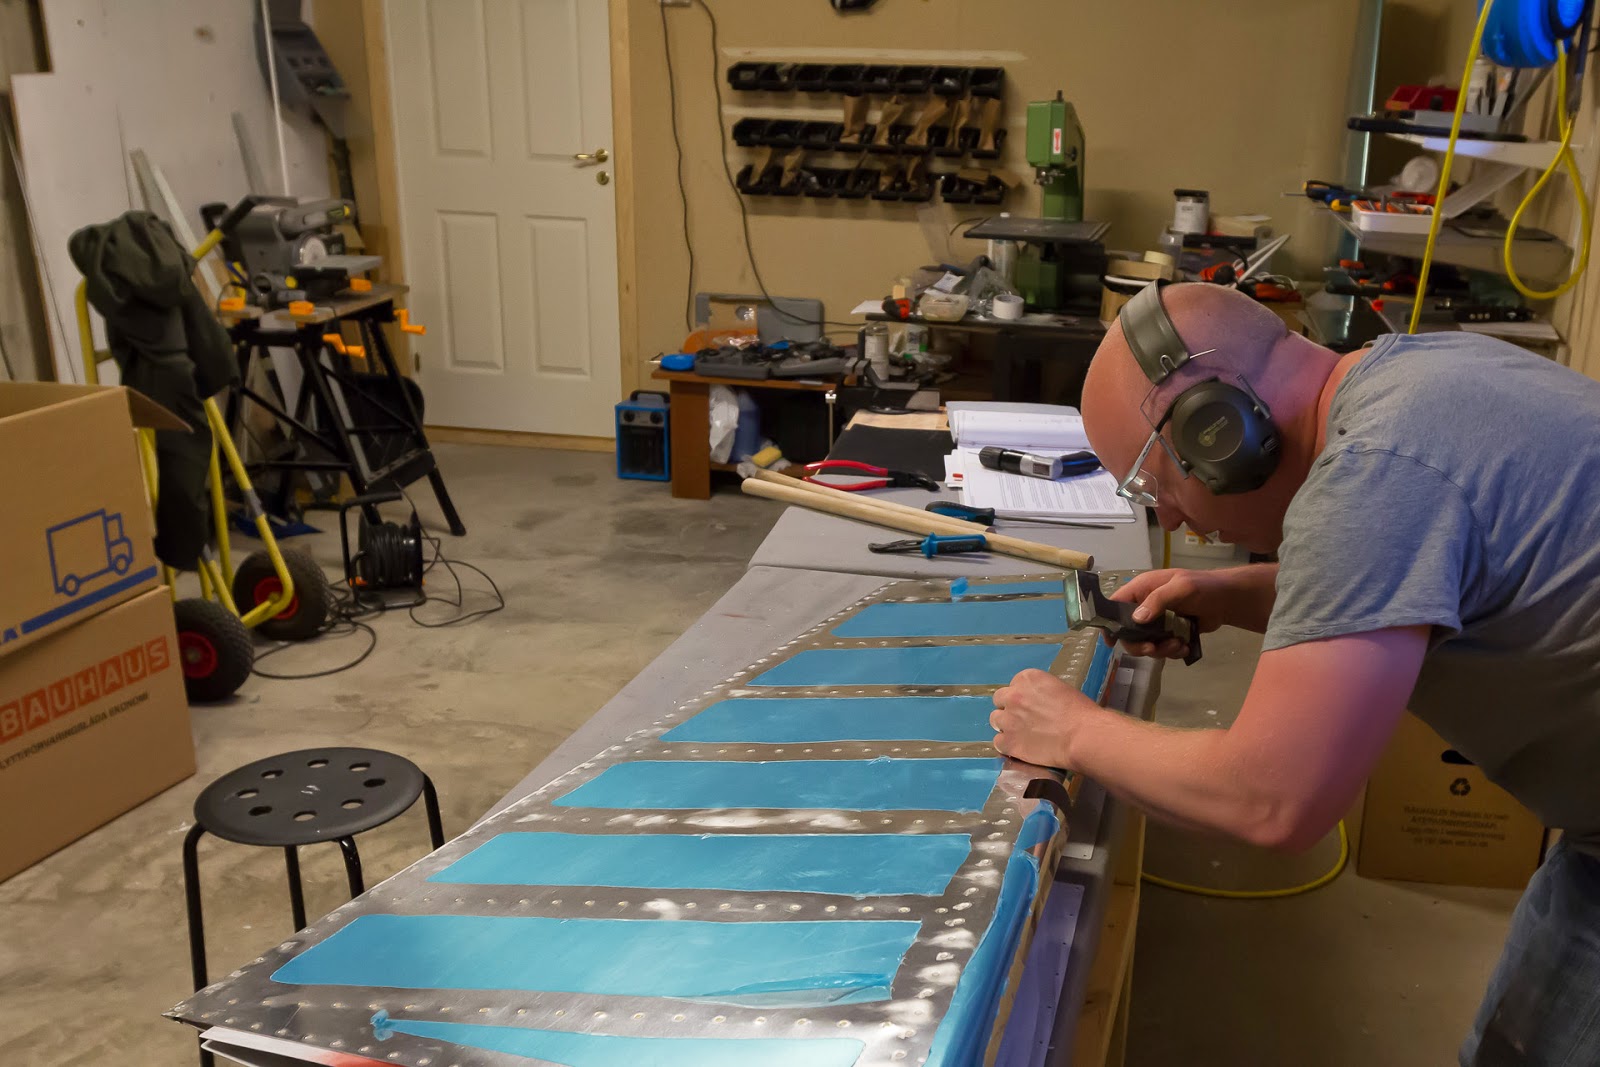
Pictures not in order as I used the Canon first and then the GoPro. First I made the spinner gap fillers, then I found some already bent scrap aluminium to make the backing plates.
And finally in the evening I went back to rudder/OP58 and finished the tail light attachment. I had made the mistake of drilling with #40 instead of #43 so I could not use the planned screws for attachment. Today I found some suitable screws and could finish the physical installation. I will probably make the electrical connections tomorrow.
As I am at least nearing the end of the build I have started to think about what else needs to be done, one thing is to be in better shape. So today I started with some "boxersize" and a long walk. I hope to have lost about 10 kg by the end of the summer.
Showing posts with label Rudder. Show all posts
Showing posts with label Rudder. Show all posts
4/4/18
1/23/15
Rudder in place
A short session, my wife helped me get the rudder in place. Moves easily and the deflection looks good, need to put the elevators on as well to verify.
1/22/15
reamed front stabilizer attachment hole
Made the hole into correct size and reassembled. Ended up realizing that it would be much safer to get some help for actually mounting the rudder.
I got some shipping/customs documentation from Vans so I guess the wing kit is close :D
I got some shipping/customs documentation from Vans so I guess the wing kit is close :D
12/23/14
Rudder fairing nutplates
Deburred the holes then dimpled the nutplates and fairing attachments, would have been a fun job if it wasn't for it being so cold.
I could not dimple the attachment closest to the trailing edge, I need a 3/32 POP RIVET DIMPLER SET
I could not dimple the attachment closest to the trailing edge, I need a 3/32 POP RIVET DIMPLER SET
12/21/14
Bottom rudder fairing, final drilling and drilling for nutplates
Another session tonight. Final drilled the lower end holes and drilled the holes for riveting the nutplates. A satisfying task, not difficult but not as trivial and boring like deburring...
Top rudder fairing
Back from a great vacation (Lanzarote).
It is -2 outside and only about 15 in the garage (28/59 Fahrenheit). Its not very pleasant to hold the cold tools. Did at short session during lunch were I final drilled #30 the holes for the top rudder fairing and I then dimpled the rudder and machine countersunk the fairing. Used the manual drill for the countersinking to be in full control.
No pictures today as the camera battery is still unpacked from the trip.
11/30/14
11/29/14
More rudder fairings
Just about done with trimming both the lower and upper rudder fairings. Match-drilled the upper one. Still to do it remove a part of the lower fairing, match drill that one, install the light and then pop-rivet.
11/27/14
Bottom rudder fairing
Very happy about not choosing to build a "plastic" aeroplane. I really dislike the dust from trimming the fairings and I have just started :(
11/26/14
Lower rudder fairing
Started trimming the lower rudder fairing, it quickly got so dusty in the garage that I decided to call it quits for the night with the intention to wear better protection at the next session.
11/25/14
Started on the fairings
Forgot to reposition the camera so not much to show today. Started on the fairings, drilled the draining hole in the rudder fairing and some more. Fixed some wiring on the trim motor.
5/23/14
Downtime and purchase
With my wife on a business trip I have had to make other priorities for a few days. I managed to complete the rudder leading edge, put that away and started to collect all the parts for the next step.
I ordered a pneumatic squeezer from Avery.
I ordered a pneumatic squeezer from Avery.
5/20/14
Rudder leading edge
Started to roll the rudders leading edge. First I redid two bad rivets that I somehow missed before. Always good to give everything an extra check before closing it up.
Rudder trailing edge
5/18/14
An hour drilling out and re-riveting
Spent an hour measuring rivets tonight. a few got some more pounding, 5 had to be redone.
5/13/14
Beginning to see the end of the rudder work
More rivets, closing up the weight compartment (put epoxy glue on the treads first)
Last part was grinding away on a piece of iron that I will use to indirect rivet the ones near the trailing edge.
Last part was grinding away on a piece of iron that I will use to indirect rivet the ones near the trailing edge.
Subscribe to:
Posts (Atom)


