11/24/18

Raised tail

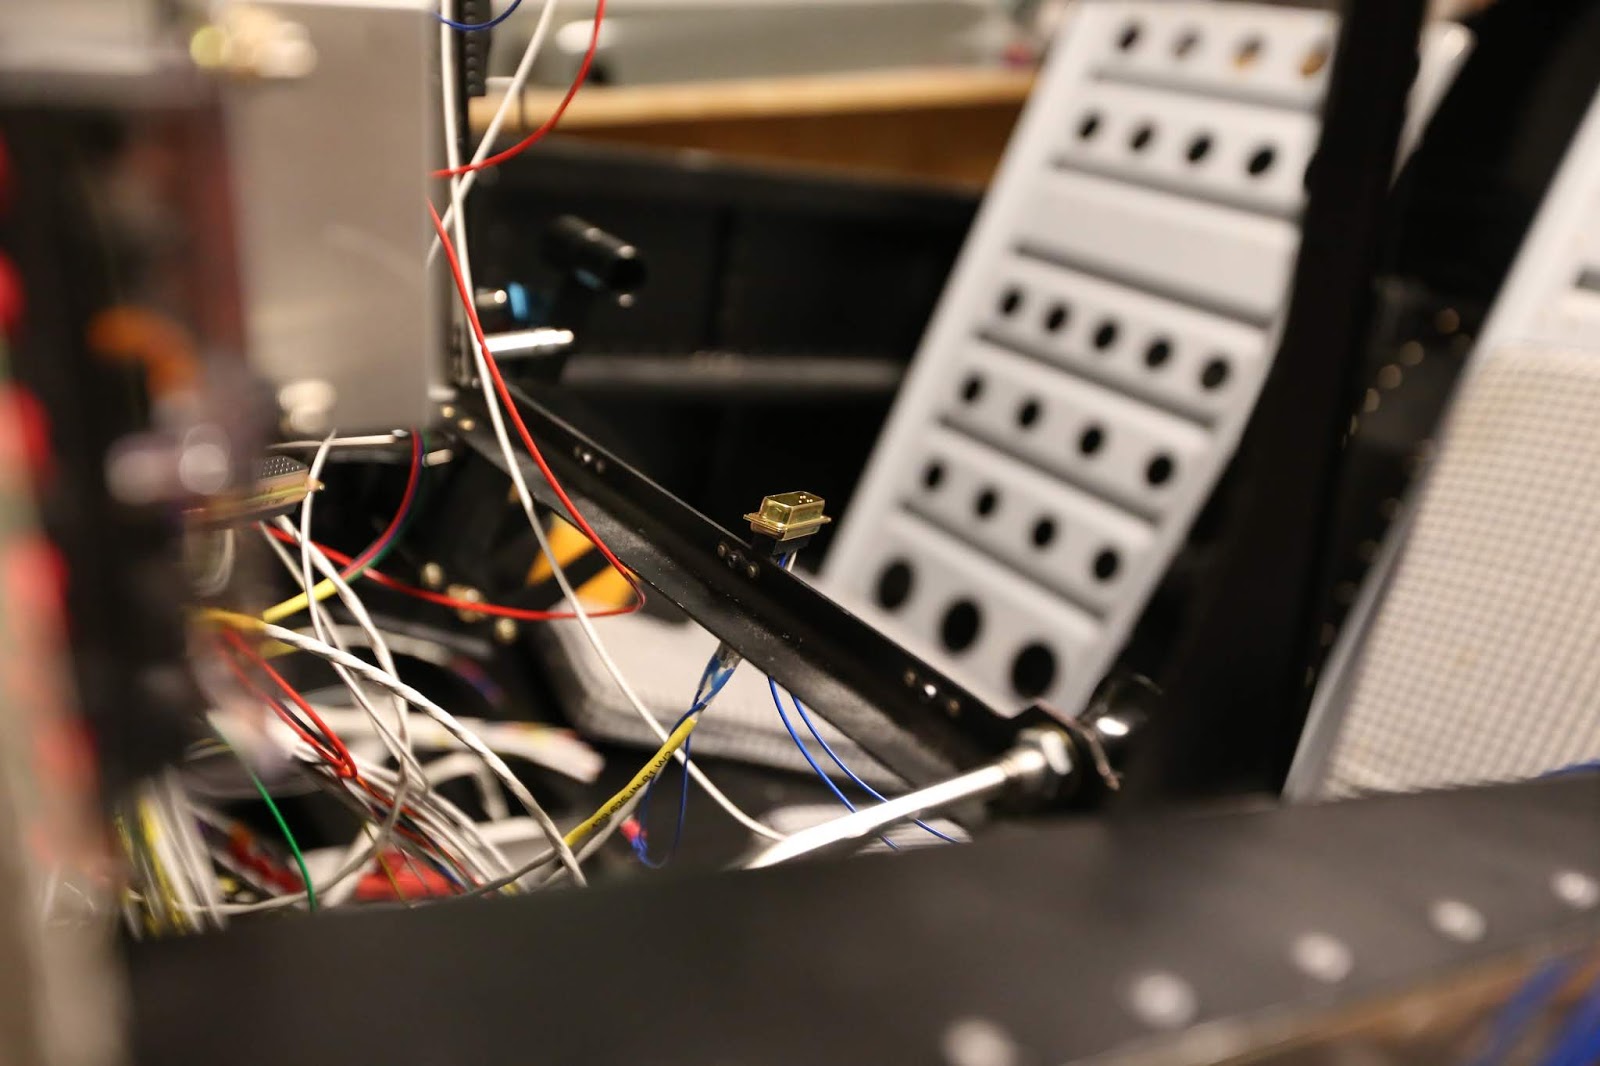
Raised the tail for the wheel fairing alignment. I do not feel confident in my measuring method so I will do it again before starting up the drill.


11/20/18

Wheels in the air... not flying ;)


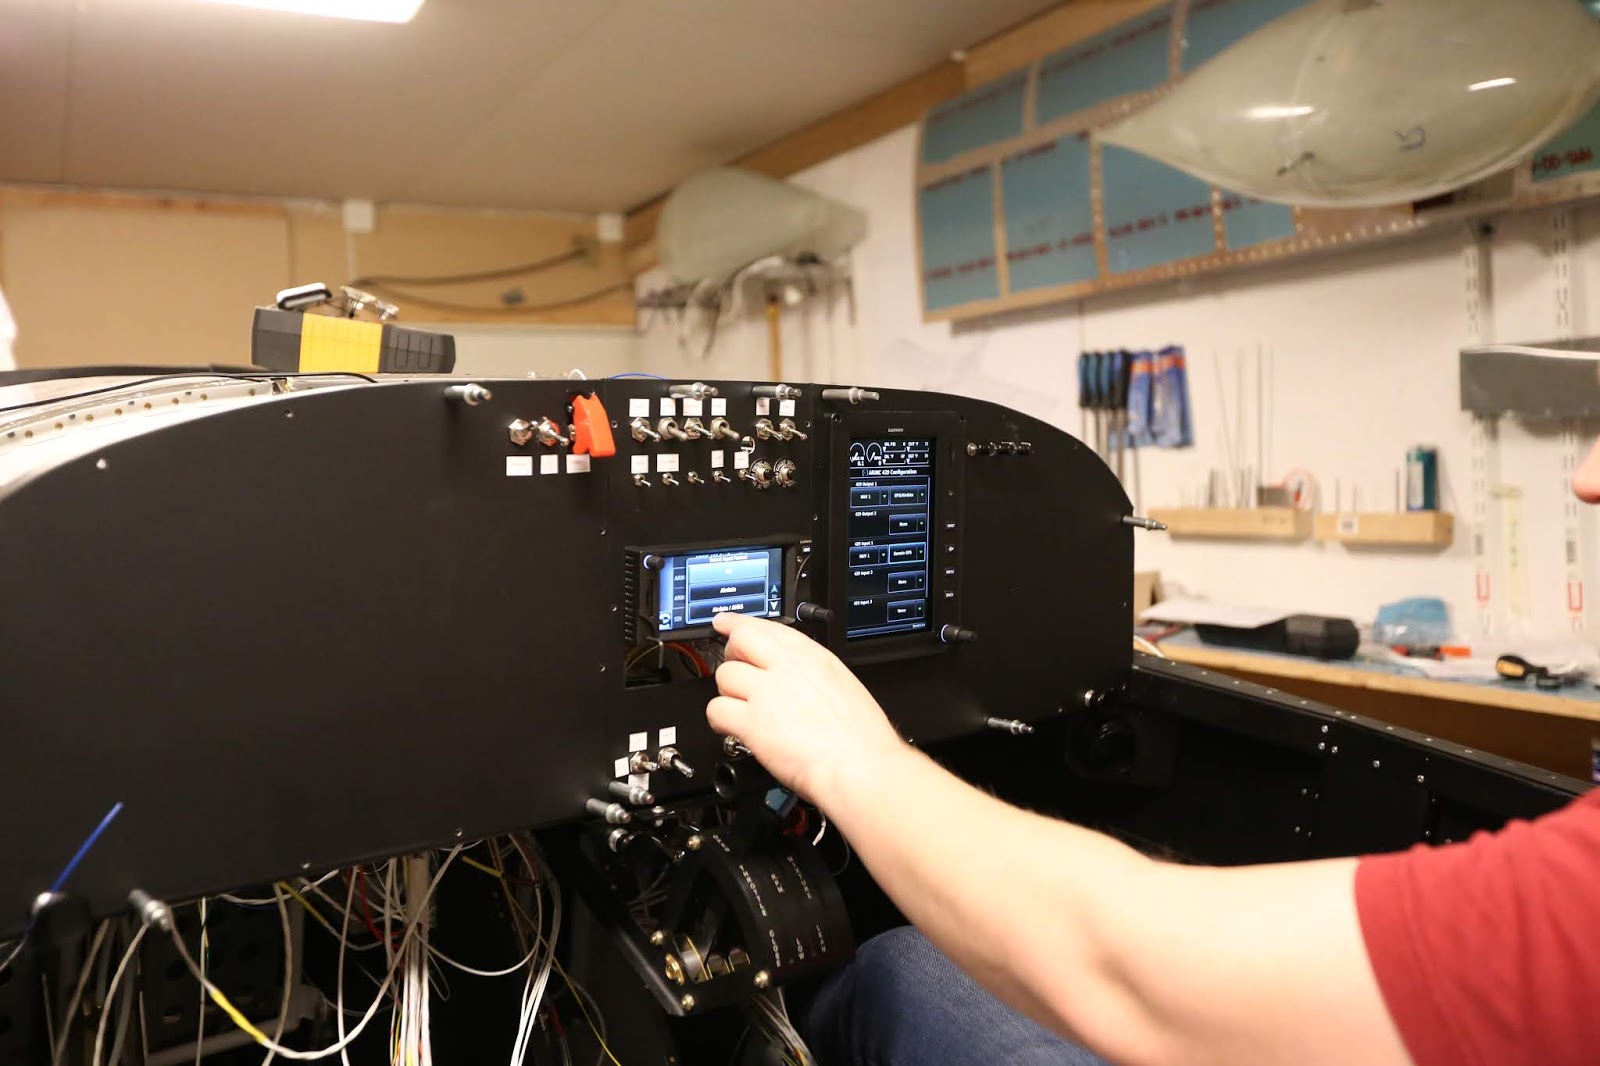
Tried to configure the arinc interface again. Did not success, might be a physical connection problem. Then one could say that a milestone has passed, he wheels have been in the air. I tested to lift the front wheels by using the engine host connected to the engine mount. I then raised the tail, so all three wheels have been in the air ;) This is in preparation for continuing with the gear fairings.


11/18/18

SB done

At almost exactly 1.5 hours, the new parts were installed.


11/16/18

SB 18-09-17

A service bulletin has been released regarding some cosmetic skin cracking in the bottom part of the tail. The fix is adding some reinforcing parts. I have now done everything except actually riveting the pieces in place, I need a helper for that.
All in all, ten rivets to drill out and 14 to rivet, no to bad


I need to stretch more

11/14/18

Propeller torqued

The propeller is torqued, this part was easy, getting the safety wire in place took forever! I also got my SB parts delivered, I ordered them on Monday so that was amazingly quick :)


11/13/18

Propeller Wrench

Got a new tool delivered. This will make it easy to reach and torque the prop. Now I just need to ensure I have the correct torque values and do the correction calculation.

I also marked the pins for the bottom cowl.


11/12/18

429 interface

Connected the 429 wires between the GTN625 and the GAD29, connected the GAD29 to power/gnd and the canbus. Then I tried to configure it, no luck yet but at least it is connected now.


11/10/18

GAD29

Received my GAD29, this is the interface module that will provide most of the communication between the EFIS screen and the IFR GPS (GDU470-GTN625).

Had to make a plate to attach it on the outside of the GEA24.

11/6/18

Chapter 29 done

With the air vents in place I could mark chapter 29 as done. (To be honest there are 2 rivets that needs to be driven, I could not get to them with the bucking bar I had at hand.)


11/5/18

A return to chapter 29

I have done several sessions with wire labeling, attached some wires to switches, nothing that has been interesting to post about.
Today I got tired of avionics stuff and started looking for something else that needed completion. I found the vents that I had been looking at a few days ago.

Decided to match drill them to the skin som that they will stay put when I attach them with proseal. Continued the preparation, I will soon be ready to install them.


10/30/18

ANL fuse housing

Finally got the housing for the ANL fuse closed up. Something that would take less tan 10 minutes to do on a bench can take 2 hours when you have lo lay in a really awkward position to work on it.

I also routed wires for the seat heating. Made a dedicated ground wire for the USB power outlet.

10/29/18

Hard and boring work

During the weekend I worked in the footwell, getting four screws in place took more than an hour! Changed out the heavy ground cable I had between the left and right side of the panel to a ligher version, attached the alternator field cable/switch.


So another one of those neccessary but non-visual work sessions.

10/26/18

Flap position sensor

Flap position sensor wired to the GEA 24, confirmed working but configuration will happen after the wings and flaps are in place.


10/25/18

Flap control

Just realized that I did not post this here on the blog: I connected the wires for the flap motor to the GAD 27 and the flap switch. I was then able to make this little video:


Very significant as it is the first wiring that goes to the back of the plane.

10/22/18

GEA 24 connected

My Garmin 9-pin connectors have been in Sweden for six days now, either stuck in customs or at Post Nord :(

I could not keep myself from trying out the GEA 24 so I carefully used the can bus terminator to connect pwr, gnd and can bus hi+lo to the GEA24.

I then turned it on, before configuring anything, my little extra battery that I use was drained to much so I had to take a break to charge it. I then tried again. Only a few items worked, I was surprisingly fast in finding the problem, the other GEA 24 connectors were not connected! Quick fix and then I got some believable results so my wiring cannot be completely off :)

10/17/18

Control cables in place

All control cables are in place.
Mixture required only careful setting to get a perfect result.
Throttle required a new hole in the arm that the cable attaches to, to get the proper throw, great result.

The Prop control is working fine but with it setup so that I get full forward with just a tiny cushion at the handle, I can only go down to about 45% before I hit the stop at the governor. I´m sure it would work fine like this but I would have a difficult time setting the RPM to the exact wanted value. The solution is described by Tim O on VAF and consists of buying a longer arm for the governor.

Wires and pins for the GEA 24, 9 pin connector are done and resting in a can-bus terminator, waiting for the proper connectors that might show up in the mailbox tomorrow.


10/15/18

More control cables

Getting the cables in place without having the possibility to detach the throttle quadrant would have been very difficult.

Prop control is in place at both ends. Throttle is connected inside the canopy. Mixture is in place at both ends but I need to tweak it some, when it is set at full on the engine side, there is about 1/4 inch left at the quadrant, I want them all to be very close to the front mechanical stop when at full forward so I dont destroy anything if I push hart on the controls at an unexpected go-around... So please ignore pictures with cotter pins barely in place, they are not final yet.

10/11/18

Another motivation booster

Got the adahrs calibrated and saw the horizon working for the first time :)

10/9/18

Prop governor control cable

First I crimped pins onto the dimmer wires and put them into the GAD 27 connector then I felt that I needed to do some non-electrical work so I attached the prop control cable on the governor side.

Dimmer pots

Dimmer pots in place but I think they stick out to far... Will do something about that later.

10/7/18

Another GEA24 connector done

The strange comment bug is here again, I just cannot reply to comments from any of my devices.

Another connector is done, this one contains all the pressure sensors, fuel flow, alt-amp and oil temp. It looks like I have misplaced the 9-pin contacts so I cannot wire power to the GEA 24 at the moment.

10/5/18

More power

Finished the GDU470 contact. Connected power first to the GSU25 and then to the GAD27. After verifying those connections I finally connected the keep alive power from the GAD27 to the GDU470, GTN625 and GSU25 via some fuses.


10/2/18

Still no smoke

So tonight I wired up power to the GDU470 and set up the GoPro for recording, still no smoke :)

10/1/18

No smoke :)

I finished the GTN625 connector. Assembled the 625 back plate and connected the power and ground wires. I put in a 3 amp fuse and temporary wired my small 12v battery to the connectors on the FW side.

With the camera set up I flipped the master switch and it turned on. Of course complaining about not having the card with map data and so on. But no smoke!

Disconnected everything and went inside just to discover that today was the day that the cameras SD-card decided to die :( So I missed recording this event, one camera is simply not enough for important events!