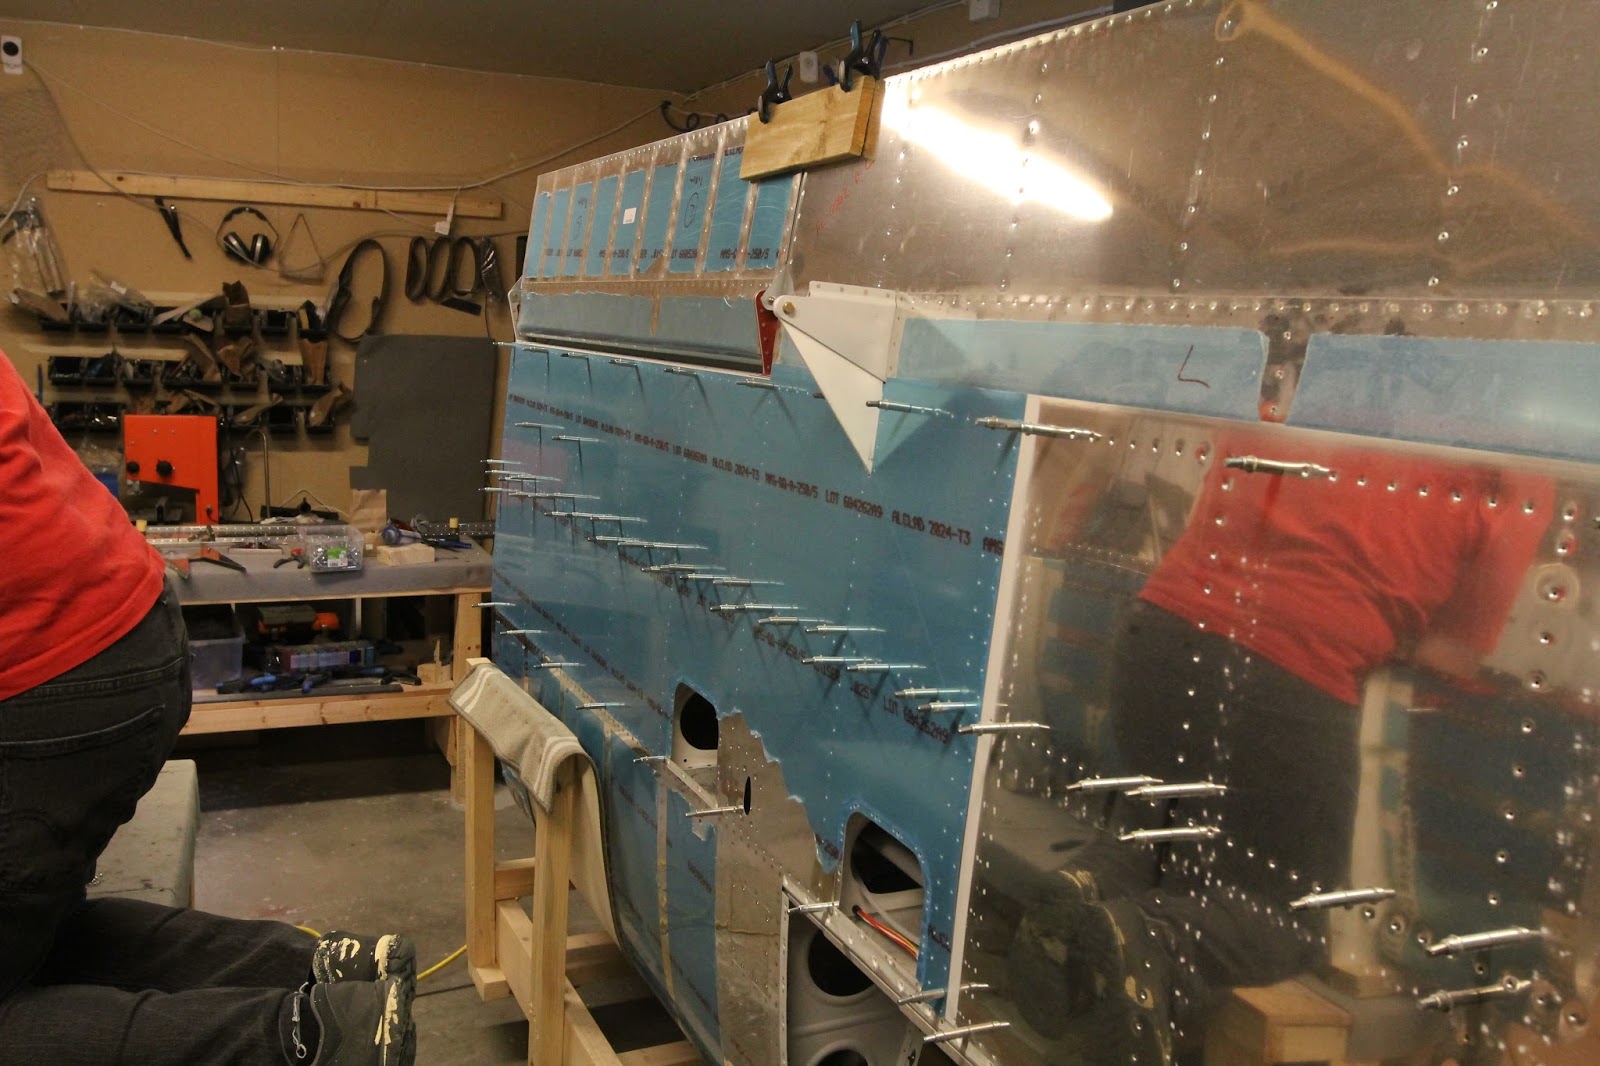
I put in a coax cable and two AWG24 wires into the right wing, all the way to the tip. For an eventual VOR/Loc antenna and 5v for cameras or other things.
Today I got wire for the heated pitot, Nav-antenna and backup wire for things like power to a GoPro or similar. I also got a replacement AN4-32A bolt, for the one I bent when trying to install the right wing aileron actuation.
Tonight I installed the above actuation and fixed the sound in the shop (Windows 10 driver issue)
I remember reading an article about building efficiency, I think it was in Kitplanes. One of the tips was to have several smaller projects going on in parallel with the intent that if something could not be done for whatever reason, there would always be something else to do int the shop.
I have gotten away fine without this practice up until now, the time needed for each proseal session does not exist in a weekday, this has already cost me at least 20 hours of potential work... I will try to get the planned cable purchases done shortly so that I can have "riveting the bottom skins" as a parallel project to the tank building.
Some misunderstanding resulted in me being alone today. The plan was to rivet 5 ribs into one tank or even five on the other as well if things ran smoothly.
Now I made a new plan and riveted the fuel fittings to the end ribs, closed the tooling holes in the end ribs, bettered the sealing of the stiffeners and then had time for one rib.
I really hope to not do another rib by myself, the good is that I think the result was fine but it was a pain to hold the bucking bar and position the gun while at the same time put pressure and holding the parts in place.
The bad is that doing it by yourselves gets your hands covered with proseal almost immediatly, I probably used over 30 gloves on this session.
First session done. The plan was to do the stiffeners and some fuel fittings but even though I think I used less than an optimal amount, I had difficulty in making one tube last for all stiffeners.
Somehow I missed the back-riveting plate when doing two rivets so they had to be drilled out, apart from that I think the session went well.
Not to bad but I need to put some more proseal on some shop heads and at a few places along the stiffeners.
I am trying to follow the process shown in this tread:
http://www.vansairforce.com/community/showthread.php?t=118078&highlight=fuel+sessions
I got some great practical hints from this RV9A blog:
http://www.smittysrv.com/more_stuff.asp?ID=296
Now I have done just about as much preparation for riveting the stiffeners with proseal as I can think off. I have read that the session I am planning to do takes 4-5 hours, the question is if this includes the prepping I have done or only the actual mixing, placing and riveting...
Since once I have mixed the proseal, I cannot take a long break or stop and continuing at another time without losing that batch of proseal, I think I will wait with the first session until I am sure to have at least 4 hours to spend.
Switched tires on both cars, mounted new lights in a bathroom, went for a short flight with the family(In a Cozy3/Cozy classic) and doing some time in the shop. Really close to start mixing up some proseal.
Marking the parts to make sure they go back were they fit
"electric" tape that is supposed to make it possible to get a nice clean edge after riveting the proseal covered stiffeners
The empennage canoe is back up and all fuselage and finish kit parts are stored on shelves and wherever I could find some space. Soon I am out of excuses for not starting to use proseal when completing the wing tanks.
14.3 hours done so far. I am almost done with the hardware bags, surprisingly many mistakes found. One wrong bag delivered , luckily the missing bag 2306 contains 426 3-5 rivets that I have plenty of and that would be easy to find locally. (the bag I got but should not, 2006 contains some lock nuts, pull rivets and washers)
Unpacking of the finish kit continues. These are the parts that will wait the longest to be used. The pictures are not that interesting and there is not much to write about this.
You might not read so much on this blog in the near future but I will continue to put 1-2 hours per evening into the project. The wing kit took almost exactly 10 hours to inventory so I probably have close to 16 hours of inventory left with these two kits. I promise to start updating the blog when the inventory is done.
Nice motor mount, engine is not decided yet so we will see if I will use this mount
The gear legs are massive!
4 bags of paper so far
the fuselage box top, was screwed in place, unfortunately the finish kit was nailed, a pain to remove all the sharp nails (the u-type)
So February resulted in an all time low. Only 3.7 hours done, the only thing that was done was to move around stuff and clean up the shop in preparation for the fuselage and finish kits.
I wish I could blame the low number of hours on having to wait for new parts but that would be a lie. The next working session will be tearing down the insulation covering the shop doors so after that I have a valid excuse for not working on the project until after the kits have arrived and the insulation can be put back up again ;)
I am starting to miss working on the plane so I hope that the recent troubles with getting the kids to sleep on time, goes away when it´s time to pick up the pace again.
I have also tried to research what extra electrical cables I will need in the wings for the heated pitot and although I have found some answers on other blogs, I have not gotten enough details to go out and buy the cables, placing them and then closing up the bottom wing skins.
January was slow. like last year plus I kind of lost the drive when I got to the point that continuing with the tanks became impractical without access to proseal.
February started with a one week vacation (Fuerte Ventura) followed by kids with lost sleeping routines :-/ Yesterday was spent in the shop, one hour that I do not count as airplane building and then another with more reorganizing before the next kits arrive. Tomorrow I plan to buy lightning for the shop attic to be able to move more stuff in there and thereby freeing up more space. I am already foreseeing needing to take down the wall in the back of the shop before beeing able to mount the engine mount, probably about a year before that is needed but some preparation might as well be done now.