9/22/15

Pitot mast installation

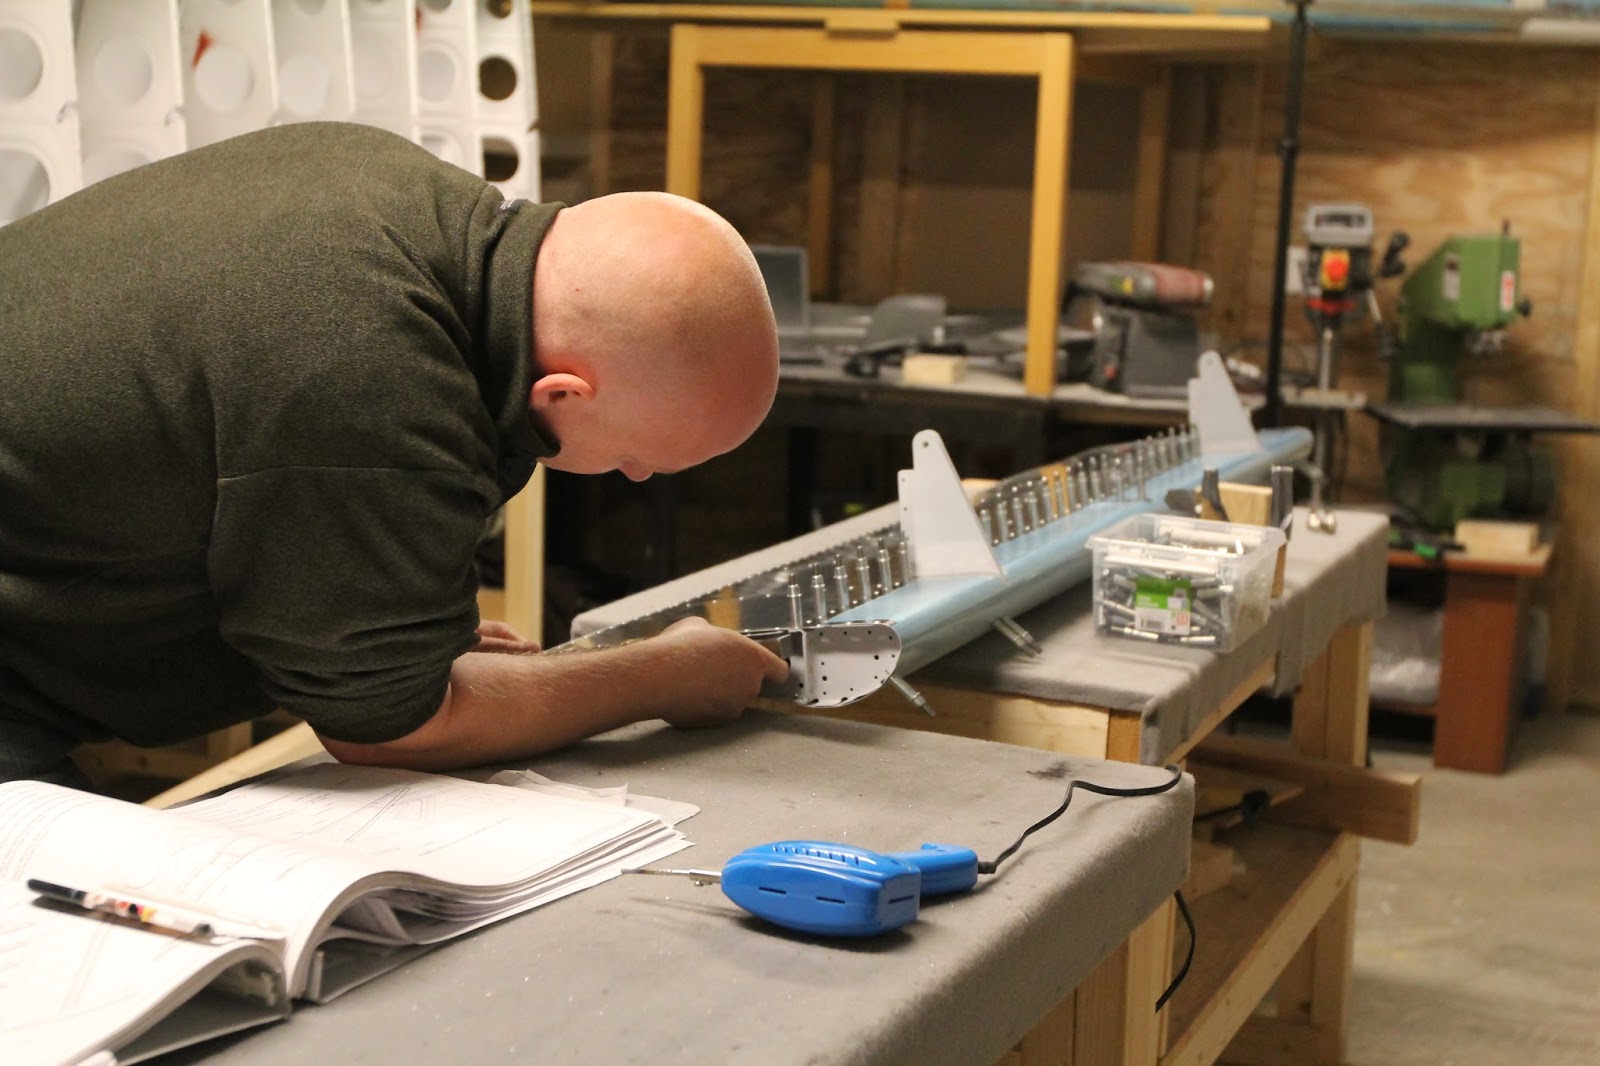
Continued on the pitot mast installation but I do not have any pictures or videos yet.
Copied another builders mount, placing it so I get four holes at the bottom (front)
Not shown is that the angle was sized so that the spacer that is included will sit just next to the angle.
Positioned so that the skin will lay flat on top later on


still ok?.... yes!

drilling two holes at the bottom to be sure that it will be placed correct later

fixed the template and made marks on the skin

And finally everything was match drilled

9/21/15

Right flap bottom skin on, started on the pitot mount

Nothing new to show on that topic, exactly the same procedure as last nights riveting on the left one. Then I spent some time making an angle from a small aluminium sheet and to reposition the wings so that the left one that shall get the pitot mast is facing the open room.


9/20/15

Started attaching the bottom skin on one flap

After verifying that I had no twist, I removed the protecting sheet

I tried to find a way to use the special elevator bucking bar but could not make it work

The first rivet in the bottom skin, I can not imagine doing this without a tungsten bar

doing every 10th rivet as mentioned in the plan to prevent twisting


marking the ones done

after doing every secind, I did the last 50% bay by bay from the center and out

finishing with the spar rivets

And using the squeezer for the outmost two 

"only" pop-rivets and the trailing edge to do on this flap

9/19/15

Flaps top skins done

Well, except for the trailing edge of course.

One had to be drilled out, I pushed to hard on the bucking bar so the rivet was not fully in when it started to expand


Great back riveting results tonight


9/17/15

Started with the top skin on the second flap and also built a stand for th C-frame

Started with the top skin on the second flap and also built a stand for th C-frame.

9/16/15

Started to rivet one of the flaps top skin

I feel a bit rusty doing normal riveting alone but the result was ok, no rivets that have to be drilled out.


9/15/15

Flaps skeleton done

The cold I have had for the last couple of days is in general getting better but today I probably have had some fever and a headache that has become worse for each hour.

Maybe it helped me get into the "nothing going to stop me now" mode that was needed to finish the flaps skeleton. To drive the rivets one has to really bend the parts to get room for the tools.

9/14/15

Almost done with the flap skeletons

I have a few rivets still to do, I only did the ones I could squeeze.

9/13/15

Riveting has started

And finally it's time for the fun part! Even with all parts primed, VANs rivets sizes have worked good so far :D


9/12/15

Preparing to rivet flap parts

Another short session today, verified the priming result and put some pieces together.

Last flaps priming

Hopefully done with priming the flap parts.

9/11/15

More flaps priming

It will take at least one more session to prime all parts.

9/9/15

Flaps, almost ready for priming

Lots of deburring and scuffing in preparation for priming all parts.

9/7/15

Flaps, dimpling done

Dimpled the remaining skins. Some scuffing and cleaning to do before its priming time...

9/6/15

More flaps, flying and some tool problems

The lack of updates is mainly because my work sessions the last few days have ended in frustration.

My favourite tool, the pneumatic squeezer has not worked properly. Over the last weeks it has worked less than perfect, for every session it has been more and more reluctant to release the pressure. I did at first not connect it with the sound of leaking air, I tough that is was some sort of problem with lack of oil/grease... but after disassembly it was clear that that was not the problem, then I checked the valve at the bottom of the tool and remains of an o-ring fell out.

Now with a new o-ring, everything is back to normal again. The problem was that even when the valve was in its closed position, air pressure bypassed the valve and kept the tool in the engaged position.

A funnier reason for the lack of updates is that I have been flying, took my wife up for her first aerobatic session.


Most of the dimpling has been done:
another good use for the pop-rivet dimpling tool


9/3/15

More flaps work

I did work both yesterday and tonight but there is not much new to show. Deburred flaps parts and I have dimpled most of the parts now. My pneumatic squeezer is not behaving, it will not release pressure :-/


9/1/15

Flaps, creating a spacer

Another fun task tonight, to be able to use the countersink cage on the hinge brackets, one must creat a spacer. I could not find any suitable piece to make it from yesterday so today I bought a piece of soft iron for less than a dollar that I made the spacer from.

All the holes in the brackets are now countersunk and/or deburred.